

At Blues, we often get asked about the best way to set up geofences, or virtual boundaries around a physical location.

I’ve previously written about implementing geofences with a serverless cloud function, but that approach can be challenging if you’re not an experienced software developer.
That’s why an announcement from our friends at Datacake caught my eye. Datacake has a new feature called Zones that provides an easy way to build dashboards that utilize geofences—including the ability to get notified when devices enter or leave a defined area.
In this article I’ll show you how it all works. We’ll look at how to implement geofences using location data from a Blues Notecard and Datacake-defined Zones.
New to Blues?
Learn what we do in this 3-minute video that walks you through how we simplify wireless connectivity.
Learn what we do in this 3-minute video that walks you through how we simplify wireless connectivity.
Setting Up a Device
To test any project that uses geofences, you need to begin by setting up a device that regularly reports location data.
The Blues Notecard is perfect for this, as all Cellular and Cell+WiFi versions of the Notecard have a built-in GPS/GNSS module. If you’re newer to Blues, this 10-minute video can get you up to speed on the Notecard, and all the other hardware you’ll need to get up and running.
For my own testing I used a Blues Starter Kit (a Notecard, a Notecarrier F, and a Swan microcontroller), and hooked up a LiPo battery for power.

Once I had my hardware in place, I then ran the following requests on my Notecard.
{"req":"hub.set", "product": "<your-product-uid-here>", "mode":"periodic", "inbound":180, "outbound":5}
{"req":"card.location.mode", "mode":"periodic", "seconds":120}
{"req":"card.location.track", "start":true, "heartbeat":true, "hours": 12}
This configuration tells the Notecard to take a GPS/GNSS reading every two minutes ("seconds":120), and to synchronize those readings to the cloud every five minutes ("outbound":5). These settings are fairly aggressive and will use up a considerable amount of battery, but having more frequent readings makes geofencing far easier to test.
 note
noteIf you need to take very frequent GPS/GNSS readings for your project, check out our article on Using an External GPS/GNSS Module with the Notecard.
You’ll know everything is working when you start seeing _track.qo events in Notehub.

noteIf you’re not seeing readings, remember that your device needs a clear view of the sky to get a satellite fix, and that the Notecard only takes new readings when it has moved (as detected by the Notecard’s onboard accelerometer).
Creating a Datacake Route
With data flowing into your Notehub project, you next need to route that data over to Datacake.
Creating a Datacake route involves registering for a free Datacake account (if you don’t have one already), creating a device in Datacake, and then creating a Datacake route in Notehub.
If you haven’t done this before you can follow our Routing Data to Datacake tutorial, which walks through these steps in detail. You’ll know everything is working when new events have a green checkmark next to them which indicates they were routed successfully.

Building a Dashboard
Once you have data flowing into Datacake you can start building dashboards in Datacake.
This is the fun part, as building dashboards in Datacake is relatively intuitive and easy to do. We have a tutorial that walks you through building a simple Datacake dashboard, but I find it’s easy enough to click around on your device’s Dashboard tab and add whatever charts and graphs make sense.
For my testing I made a dashboard where the map was the focus, but I also included a handful of other pieces of metadata the Notecard captures by default: temperature, voltage, and signal strength (RSSI).

Creating a Zone
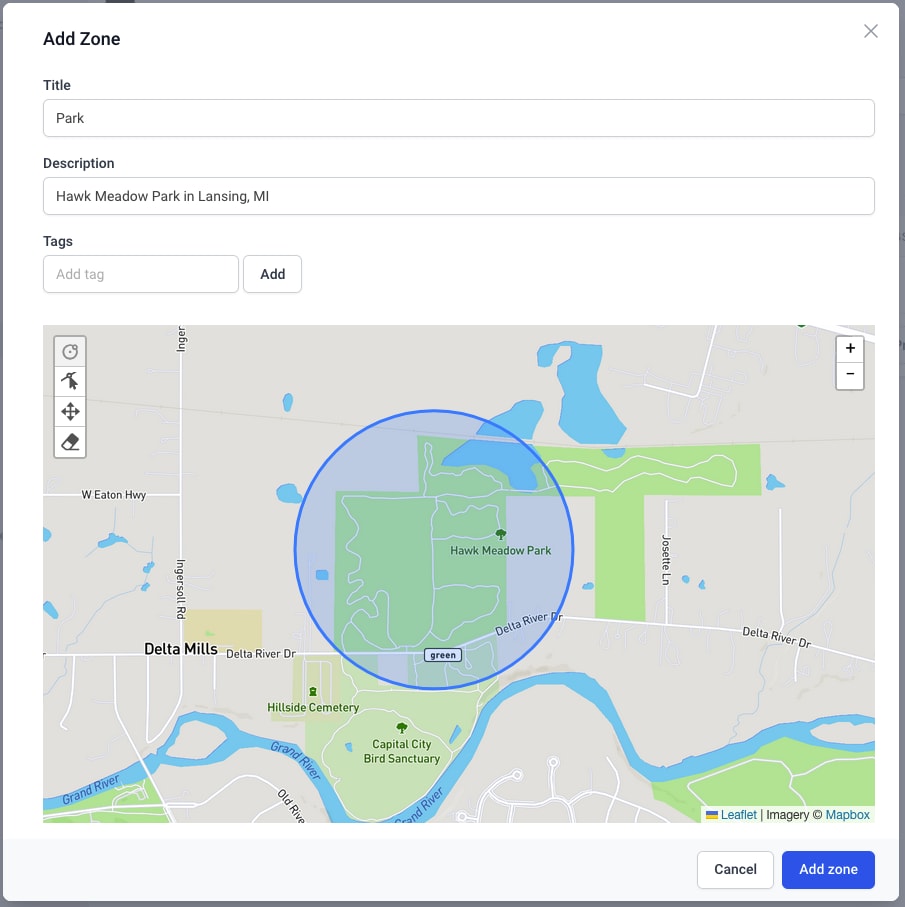
Once you have a dashboard in place you’re ready to try out Datacake’s new Zones feature. To do so, click the Zones link in your Dashboard account, then click List, and finally click the Add Zone button.

Next, give the Zone a Title and Description, and then use the circle button (top-left corner of map) to define the boundaries of your Zone. Currently all Zones in Datacake must be circular, so expand the circle out to whatever position makes sense for your testing.
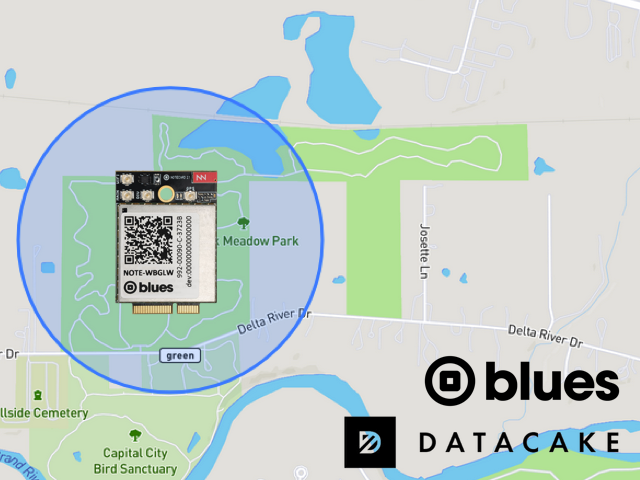
I created a Zone around a local park as I was planning on taking a walk there anyways 🙂
Once you’ve created a Zone feel free to look around Datacake’s Zone Overview, Map, and Audit log. They show you information on what devices are in Zones, as well as a full log for when devices enter or leave a Zone.

One important note: if your device is not showing up where you expect, head to your device’s configuration tab, and make sure one field has a role of Device Location. This is the field Datacake will use when determining whether a device is in, or out, of Zones.

Entering and Exiting Zones
One last thing you may wish to test is taking your device(s) into, or out of, your configured Zones. For me this meant taking my device to the local park for a walk and back.
When I returned I checked my Datacake Zone Audit log, and saw timestamps for the events where Datacake first detected me in, and out, of my park zone. Pretty cool!

If you’re looking for more, Datacake has a paid rules engine you can use to send zone-related alerts. If you want to see that in action, I’d recommend watching through Datacake team’s Zone launch webinar. (They cover alerts starting around the 20-minute mark).
Wrapping Up
Overall, Datacake’s new Zone feature is an easy-to-use way to configure geofences for your Notecard-based projects.
If you’ve struggled to get geofences working in the past it’s worth taking a look to see what you think. With a Blues Starter Kit and a free Datacake account you can get a fully functional geofencing implementation done in a few hours!