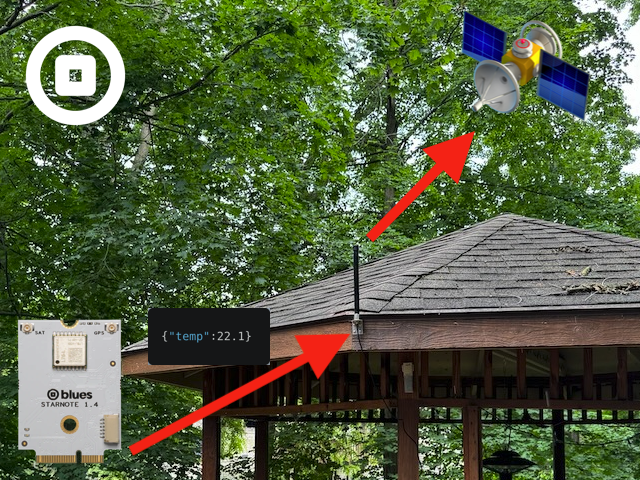

Starnote, our cost-effective satellite module with bundled data and transparent pricing (no monthly active device fees, and no monthly minimum), requires a clear view of the sky to transmit data through a satellite connection.
Although this is true of all satellite modules, it can be difficult (and annoying) to do all of your testing and development indoors—as I quickly learned the third or fourth time I hauled my laptop and hardware to the middle of my yard 😅
There is an easier way though. Starnote allows you to connect external antennas, so you can mount an outdoor antenna and run a cable to your indoor hardware.
In this article I’m going to share my personal Starnote testing setup that uses this approach. Hopefully you can take some inspiration from my workflow when creating your own testing environment. Let’s get started by looking at hardware.
New to Blues?
Learn what we do in this 3-minute video that walks you through how we simplify wireless connectivity.
Learn what we do in this 3-minute video that walks you through how we simplify wireless connectivity.
The Equipment
Here’s all the hardware I’m using.
1) Starnote Starter Kit
The Starnote Starter Kit is available for purchase on shop.blues.com, and the Starnote quickstart has details on how to hook everything up.
One important note: there are two different types of Starnotes—one with embedded antennas and one with u.FL connectors for attaching external antennas. Make sure you’re using a Starnote that has u.FL connectors.

2) An LTE-capable antenna that can be placed outdoors and oriented towards the sky
Starnote requires an LTE antenna for communicating with satellites. For testing purposes like this, you can try to use any LTE-capable antenna that covers LTE bands B23 (2180–2200 MHz), B255 (1880–1920 MHz), and B256 (2010–2025 MHz).
Omnidirectional antennas are the most convenient to use, but might not provide the right amount of gain that you need. Directional antennas are a better choice, but do require precise positioning at the right angle. For example, the GEO satellites used by Skylo sit over the equator, so from anywhere in the Northern Hemisphere your antenna must aim south:
| Your Latitude (°N) | Approx. Elevation Angle |
|---|---|
| 25° (e.g., Miami) | ~65° above horizon |
| 35° (e.g., Dallas) | ~55° |
| 40° (e.g., NYC) | ~50° |
| 45° (e.g., Seattle) | ~45° |
| 50° (e.g., Minneapolis) | ~40° |
 warning
Blues only supports usage of the included onboard or flexible LTE antenna for production deployments.
3) An SMA-terminated extension cable
This one depends on how far you need to run cable from your antenna to your office. The LTE antenna I purchased came with a 10-foot cable, which wasn’t enough length to make it from my back deck to my office. (I’ll show pictures in a minute.)
As such, I got this extension cable so that I could extend my cord an extra few feet. You can find these cables in many different sizes, so make sure to measure before purchasing to figure out the length you’ll need.
Important: The length and type of extension cable you use can make or break your testing setup. For instance, if you are only running about 10 feet of cabling, you might be able to get by with LMR-195 coax. However, for longer runs we recommend upgrading to LMR-400 which is better shielded (and yes more difficult to work with as it's not very flexible). Also, it's important to note that many antennas and LMR-400 cables use N-type connectors and not SMA, so you may need to purchase the right male/female adapters or couplers (and the fewer adapters you use, the better, as there will be some loss at each junction).
4) A window passthrough cable
Assuming you are running this antenna indoors, you will need a means of passing cable from the outside. While the best option will always be to feed a cable through a hole without interruption (e.g. drill a hole through your house!), for many of us that is either impossible or impractical. Luckily there are numerous flat window passthrough cables that can solve this problem.
Most window passthrough cables are meant for use with an RV, so you need to be careful and find one with the right SMA connectors and impedance matching to 50 Ohm cables. Note that this will be the weakest link in your chain, so the shorter cable you can use, the better. This cable from Data Alliance is a reasonable option.
5) A u.FL to SMA adapter
Lastly, you’ll need an adapter to convert the SMA from the cable run to the u.FL connector the Starnote uses. I bought this one from Amazon. The shorter cable you can use in this step the better, as this one provides virtually no shielding at all.
The Setup
With all the hardware in place you can start hooking everything up. As a first step, you’ll want to mount your outdoor antenna in a location with a clear view of the sky. Trees, buildings, sheds, and such can all block signal, so do your best to place the antenna away from or above these obstructions.
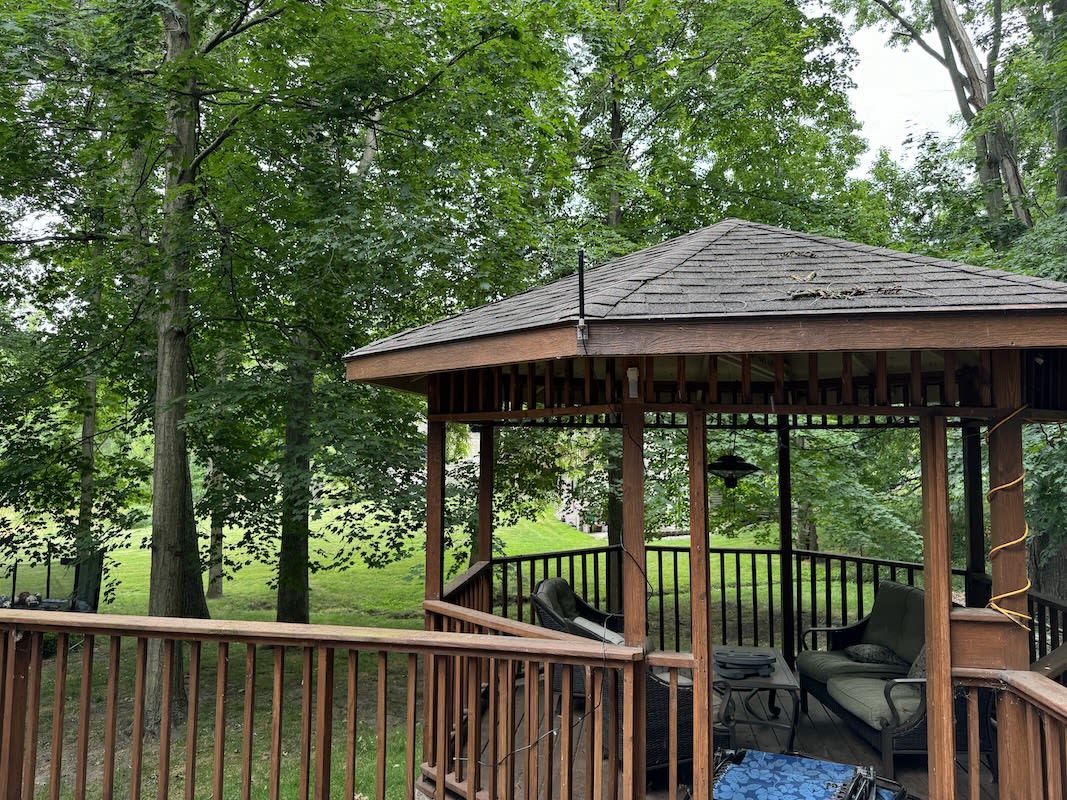
My recommendation is to start with your antenna in a convenient location, and to only move it if you’re having connectivity issues. For example, my house is two stories and my yard has a good number of trees, so I assumed I’d have to mount an antenna on my roof to get a clear signal.
However, after a bit of trial and error, I found that this spot on my back deck was sufficiently far away from my house and trees to work consistently.
From there you need to run the cable from the antenna into your house.
When I want to use my Starnote I go outside, attach my SMA-terminated extension cable to the antenna, undo a corner of the screen of my window, and manually run the cable into my house. Here’s what that looks like in pictures.

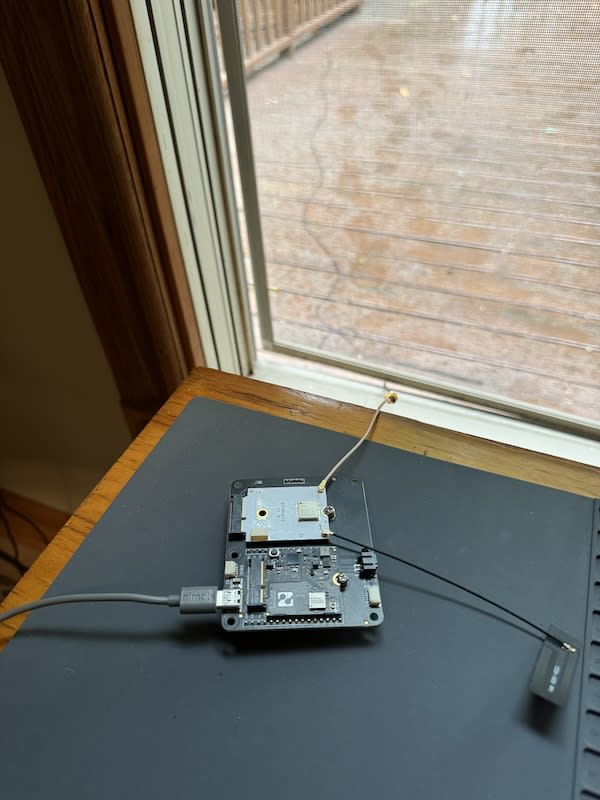
When you’re testing this on your own, you can use the steps in the Starnote quickstart to confirm your Starnote is hooked up correctly and able to transmit data.
One tip: make sure to use the Notecard’s card.location.mode request to tell Starnote your current location, as otherwise Starnote will attempt to retrieve its location using its GPS module and antenna (see the small black antenna in the image above), which also requires a clear view of the sky.
{"req":"card.location.mode","mode":"fixed","lat":<your-lat-here>,"lon":<your-lon-here>}Wrapping Up
In this article I walked you through the steps I took to hook up an outdoor antenna for Starnote testing.
Are my steps the most elegant way to hook up an external antenna? No. Will leaving my window partially open become problematic during winter? Almost certainly. But does this setup work, and does it let me test satellite projects from the comfort of my office desk? Yes—and that was all that mattered for me 🙂
Your needs are likely different, so you might need to play around with different hardware and mounting locations. If you’re having trouble setting everything up, or just want to share what you’ve built, let us know in the comments.
