

When the Raspberry Pi single-board computer was first announced back in 2012, I doubt few people were considering the utility of a Pi in a truly off-grid setting, especially considering the state of battery technology at the time.
Fast forward to today. While we haven't exactly made at-home nuclear reactors a thing (yet), we do have access to robust battery and solar tech along with new reasons to deploy Raspberry Pis in edge computing scenarios.

Why Raspberry Pi?
There are numerous microcontrollers or even stripped-down SBCs like the Raspberry Pi Zero that are more energy efficient options than a full Raspberry Pi 4. But that efficiency comes with a cost of its own in terms of a reduction in features and functionality.
Maybe a good first question we should be asking is: Why on earth would we want to deploy a Raspberry Pi remotely? And the answer? Admittedly, you normally wouldn't want to!
However, there are some legitimate exceptions to the rule:
CPU Power
If you're remotely running Machine Learning models that need to be processed in near realtime, the ARM Cortex-A72 CPU running at 1.5GHz is tough to beat.
Ease of Expansion
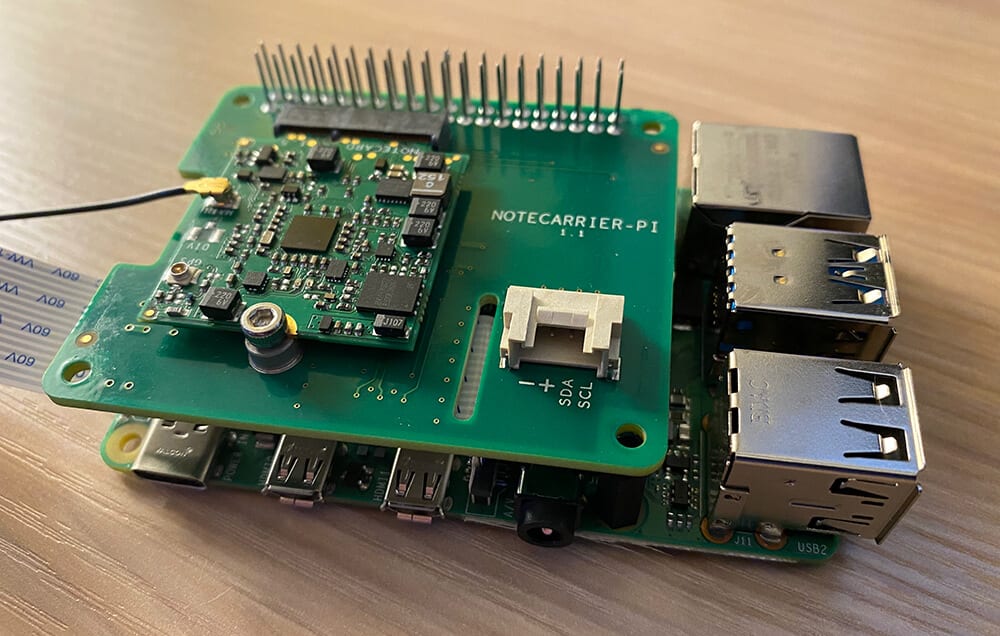
The Pi HAT ecosystem is mature and provides production-ready expansion options for nearly every scenario. Case in point, the Notecard and Notecarrier Pi HAT from Blues Wireless allow for drop-in cellular communications (at a power-sipping 8mA when idle) for scenarios where remote data relaying is a key requirement.
Python FTW
The Raspberry Pi OS ships with a full Python distribution. While CircuitPython and MicroPython are fine for the vast majority of IoT projects, there are some Python libraries that don't support those two derivatives.
Power Optimization Tips
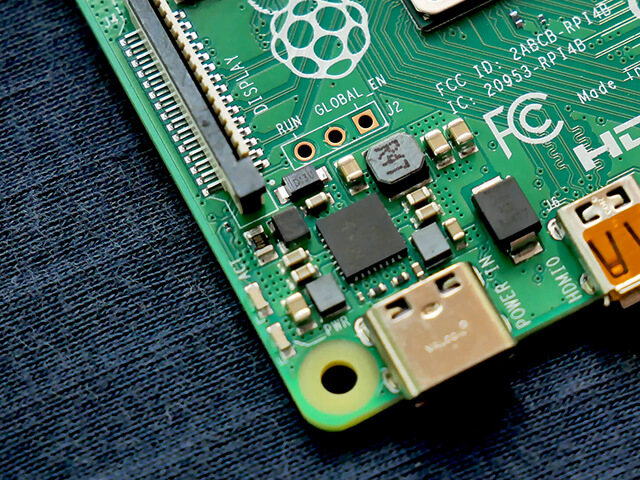
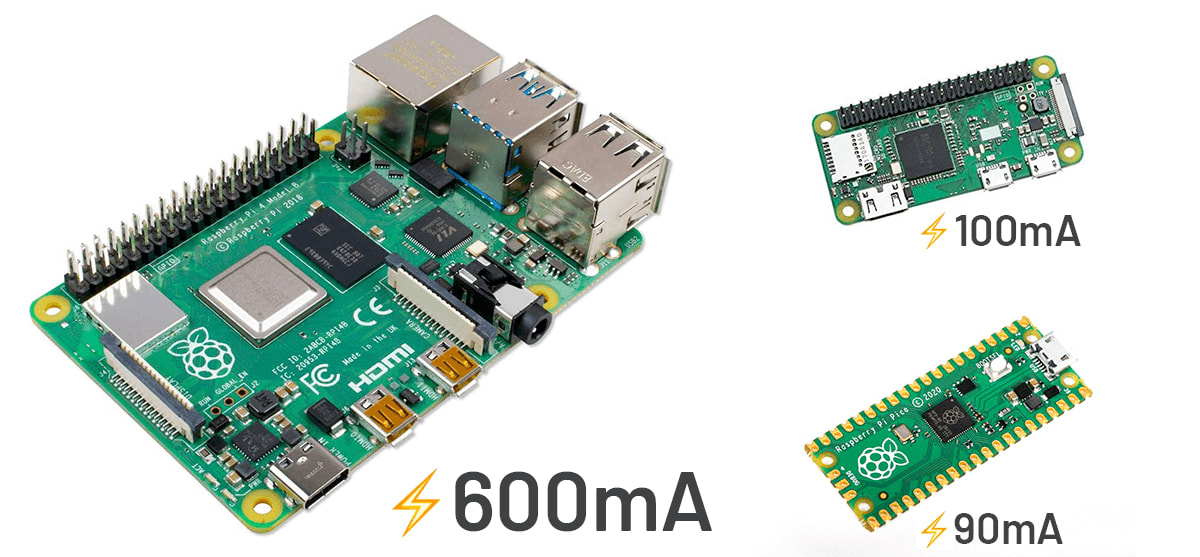
The anchor around the neck of the Raspberry Pi is its estimated 600mA active current consumption.
Let's see how we can trim that down to a manageable value with some simple configuration tweaks.
Disable the USB Controller
Power Saved? Approximately 100mA.
If you're running your Raspberry Pi in a headless configuration, it's likely you can get away with not powering the onboard USB controller. Note that even if you aren't using a mouse or keyboard, they are still powered!
To disable the USB controller:
echo '1-1' |sudo tee /sys/bus/usb/drivers/usb/unbindTo re-enable the USB controller:
echo '1-1' |sudo tee /sys/bus/usb/drivers/usb/bindAfter a reboot the USB controller will be enabled automatically.
Disable HDMI Output
Power Saved? Approximately 30mA.
Again on a headless Pi you, by definition, don't need to hook up a monitor. If that's the case, you can also disable the HDMI output.
To disable HDMI:
sudo /opt/vc/bin/tvservice -oTo re-enable HDMI:
sudo /opt/vc/bin/tvservice -pLike with disabling USB, HDMI is enabled after a reboot.
Disable WiFi and Bluetooth
Power Saved? Approximately 40mA.
If your solution isn't using WiFi or Bluetooth, you can likely disable them.
 warning
If you disable HDMI, USB, and WiFi at the same time you'll have trouble interfacing with your Pi!
To disable WiFi and Bluetooth, open /boot/config.txt, add these parameters, and reboot:
[all]
dtoverlay=disable-wifi
dtoverlay=disable-bt
To re-enable them, simply remove the parameters from the file and reboot.
Clock Down the CPU
Power Saved? Varies!
If you don't require the full power of the Raspberry Pi CPU (which is overkill for many remote monitoring situations anyway), you might save a few mA by "underclocking" the CPU.
For example, to set the CPU clock speed to a maximum of 900MHz, you could update /boot/config.txt and change the following parameters:
[all]
arm_freq=900
arm_freq_max=900
You can also play around with the core_freq_min, over_voltage, over_voltage_min, and many other parameters that are well documented in the Raspberry Pi overclocking options.
Please note that you may not see power savings in certain scenarios. For example, if you have a process that runs longer at a slower clock speed, versus shorter at a faster clock speed, you're not going to see a net change in power consumption.
Disable LEDs
Power Saved? Approximately 10mA.
We can disable the on-board LEDs on the Pi by again editing the /boot/config.txt file, adding the following, and rebooting:
[pi4]
# Disable the PWR LED
dtparam=pwr_led_trigger=none
dtparam=pwr_led_activelow=off
# Disable the Activity LED
dtparam=act_led_trigger=none
dtparam=act_led_activelow=off
# Disable ethernet port LEDs
dtparam=eth_led0=4
dtparam=eth_led1=4
Note that these are specific to the Raspberry Pi 4 Model B!
Making Changes Permanent (or Resetting to Default)
Any changes made to your /boot/config.txt file will persist after a reboot. If you'd like to issue the USB, HDMI, WiFi, and Bluetooth disabling commands upon boot, edit your .bashrc file and add those commands.
Likewise, deleting the changes you made to /boot/config.txt and rebooting will reset your Raspberry Pi back to its default state.
Supplemental Power
Maybe the most obvious tip of them all for remote deployments is to source additional power from the sun. By adding a reasonably-sized solar array to your Raspberry Pi, you can significantly extend battery life (even, in theory, making it a sustainable solution in full sun environments!).
Using the PiJuice HAT is an easy way to add a solar array to your Raspberry Pi. It also provides mechanisms for graceful shutdowns (and boot ups) at pre-defined battery charge levels.
You can see a PiJuice used in this Hackster project: Solar-Powered Crypto Mining with Raspberry Pi.
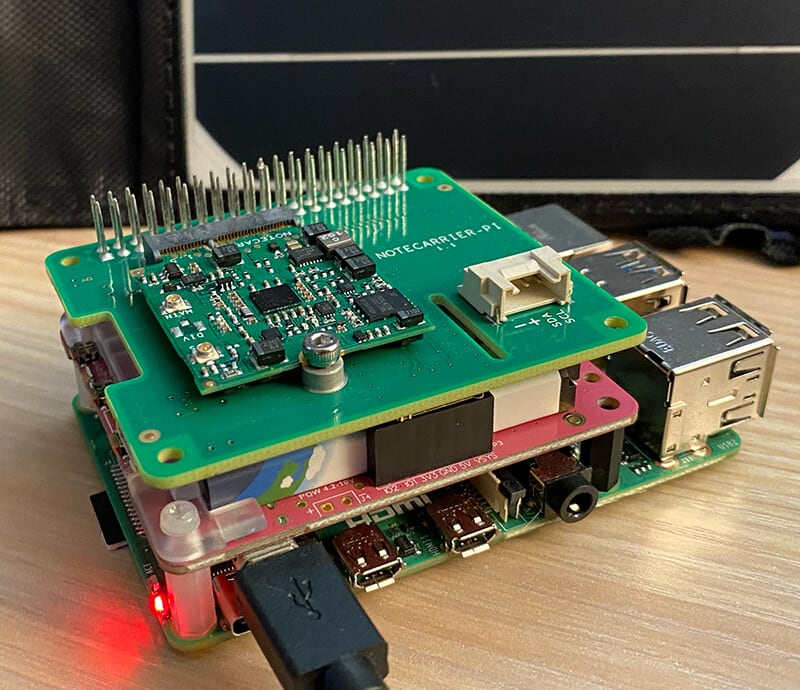
PiJuice HAT, solar array, and Notecarrier Pi.
Alternatively, you can use a USB power bank with pass-through charging. This allows the power bank to power the Pi, and a solar array to charge the battery at the same time.
This arrangement was put to the test in the another Hackster project: Remote Birding with TensorFlow Lite and Raspberry Pi.
Power-Optimized Cellular
Remote monitoring solutions are often outside the range of traditional network communication options like WiFi. This is one reason why Blues Wireless created the developer-friendly Notecard to provide cost-effective cellular for IoT solutions.

The Notecard is a tiny 30mm x 34mm SoM and ships ready to embed in a project via its M.2 connector. To make prototyping easier, Blues Wireless also provides a series of expansion boards (called Notecarriers).
The Notecarrier Pi acts as a host HAT for the Notecard. It provides an interface between the Raspberry Pi and the Notecard. With pass-through headers, it fits right in with whatever other Pi HATs you are using (like the PiJuice HAT pictured above!).
The beauty of the Notecard can be boiled down to:
- 🧑💻 The simplicity of the API (JSON in and JSON out).
- 🤝 The agnostic nature of full SBC and MCU compatibility.
- 💰 The pricing ($49 for 10 years and 500MB of data).
- 🔐 The baked-in security model with encrypted traffic traveling through VPN tunnels.
- ⚡️ The power-sipping 8mA when idle.
Learn more about how the Notecard makes a perfect companion to your power-optimized Raspberry Pi by browsing the documentation or grabbing your own Blues Starter Kit. ⚡️