

Introduction
When developing IoT applications with Zephyr RTOS, one of the most valuable tools at your disposal is the Shell subsystem. While many developers know shells as command-line interfaces for testing and debugging, Zephyr's Shells offer much more functionality that can streamline development workflows, particularly when working with protocols like I2C and Sensor APIs. In this post, we'll explore how Shells can improve your development process and make it easier to test and evaluate your sensors and Notecards.
To follow along with this post, you'll need the following:
- Feather MCU Swan
- Notecarrier-F
- Any Notecard
- STLINK-V3 for flashing the Feather MCU Swan
You'll also need the following software installed and setup:
If you're new to Zephyr, we recommend checking out our ready-to-go devcontainer that provides a fully setup development environment for Zephyr within VSCode.
What Are Shells?
Shells provide an interactive command-line interface that allows developers to execute commands, access system resources, and test functionalities without modifying and recompiling application code. This can be incredibly powerful during the development and debugging phases, especially when working with hardware peripherals like I2C devices, sensors and Notecards.
If you want to jump straight to the code, you can find the complete example here.
Enabling Shells within Your Project
You'll want to make sure that your device or board is routing the shell over your chosen serial interface. We can do this in the board.overlay and board.conf files (where board is your target device, e.g. swan_r5). This might already be enabled for you in the target's default device tree; it is for the swan_r5.
For the board.overlay:
/ {
    chosen {
        zephyr,console = &usart0;
        zephyr,shell-uart = &usart0;
    };
};
We also need to configure the board.conf (or the prj.conf if you want it enabled on a project basis):
# Enable serial console
CONFIG_SERIAL=y
CONFIG_CONSOLE=y
CONFIG_UART_CONSOLE=y
CONFIG_UART_LINE_CTRL=y

# Shell configuration
CONFIG_SHELL=y
CONFIG_SHELL_BACKEND_SERIAL=y
CONFIG_SHELL_PROMPT_UART="shell> "
It might seem surprising but that's it! We don't need to add any logic to the main.c as all of the shell logic is generated from the config file.
#include <zephyr/kernel.h>
#include <zephyr/shell/shell.h>

int main(void)
{
	return 0;
}
While this gets us started with a simple shell, it doesn't do anything useful yet. Let's add some commands to it!
Using the I2C Shell
The I2C shell commands are particularly useful when integrating external components. You can use these to check that your I2C bus is behaving as expected, if your sensors, peripherals and Notecard are present as well as write/read from registers on those addresses.
Reading and Writing I2C Registers
Zephyr's built-in I2C shell commands allow you to:
shell> i2c read_byte <device> <address>
shell> i2c write_byte <device> <address> <value>
shell> i2c read <device> <address> <subaddr> <len>
shell> i2c write <device> <address> <subaddr> <len> <value> [<value>...]
These commands are invaluable when debugging I2C communication with the Blues Notecard, which relies on I2C for host communication.
Scanning for Notecard on the I2C Bus
When your Zephyr application needs to interface with a Notecard, you can use the scan command to verify that the Notecard is present and behaving as expected:
shell> i2c scan i2c@40003000
     0  1  2  3  4  5  6  7  8  9  a  b  c  d  e  f
00:             -- -- -- -- -- -- -- -- -- -- -- --
10: -- -- -- -- -- -- -- -- -- -- -- -- -- -- -- --
20: -- -- -- -- -- -- -- -- -- -- -- -- -- -- -- --
30: -- -- -- -- -- -- -- -- -- -- -- -- -- -- -- --
40: -- -- -- -- -- -- -- -- -- -- -- -- -- -- -- --
50: -- -- -- -- -- -- -- -- -- -- -- -- -- -- -- --
60: -- -- -- -- -- -- -- -- -- -- -- -- -- -- -- --
70: -- -- -- -- 17 -- -- --
This scan reveals the Notecard's I2C address (0x17). If you wanted, you could directly read/write to/from the Notecard (which is out of scope for this post) but thankfully we have an abstraction note-zephyr that makes it much easier to communicate with the Notecard. We'll visit this later.
You can tab completion in the shell to see which I2C buses are available to you. For example,
shell> i2c scan <tab>will show you the available I2C buses.
Leveraging the Sensor Shells
Zephyr's Sensor Shell module is another powerful tool when working within the Notecard ecosystem, especially when you want to verify the sensor data before sending it to the Notehub.
Add your target sensor to the DT Overlay
To see your specific sensor appear, you'll need to add it to the device tree.
&i2c0 {
    status = "okay";
    bme280@77 {
        compatible = "bosch,bme280";
        reg = <0x77>;
    };
};
You'll also need to enable the Sensor Shell config in your prj.conf file:
SENSOR=y
SENSOR_SHELL=y
# optional for the sensor info command
CONFIG_SENSOR_INFO=y
Available Sensor Shell Commands
shell> sensor get <device_name> <channel_name>
shell> sensor info
The get subcommand will give you the value for the humidity channel from the BME280 sensor. You can also use the command without a channel name to get all available channels:
shell> sensor get BME280
channel idx=16 humidity = 49.000000
channel idx=17 pressure = 1007.000000
channel idx=18 temperature = 22.000000
How Shells Make Development Simple
What makes this particularly powerful is the ability to verify all parts of your system without having to write any code. For example, you could:
- Confirm that your sensor and Notecard are present and communicating with the I2C shell
- Use the sensor shell to confirm values from connected sensors
- Use a custom shell module to format the data and send it to the Notecard, then sync with Notehub
It's simple for hardware or electronics engineers to verify that a system is working as expected before passing it onto a firmware / software engineer to start writing code.
Browsing the List of Available Shells
To find a complete list of supported shells head to the Zephyr Docs to the Kconfig search and enter \b\w+_SHELL\b into the search bar.
Alternatively, you can run west build -t menuconfig to build the menuconfig GUI for your project, where you can then type / and enter _SHELL to search for available shells.
The list is extensive, but here are some of the shells we commonly use:
I2C_SHELLSENSOR_SHELLFILE_SYSTEM_SHELLGPIO_SHELLRTC_SHELL
Building a Custom Shell Module for the Notecard
When working with more complex applications, you can create custom commands. For example, you might want a shell to quickly verify the status of a Notecard, using the card.status command. We'll build a custom subcommand to do just that.
To make setup easier for the Notecard, you use the note-zephyr west module, either by adding it to your project's manifest (west.yml) or set up note-zephyr locally:
- name: notecard
   path: modules/notecard
   revision: main
   submodules: true
   url: https://github.com/blues/note-zephyr
Run west update to pull the module and you'll have the functionality available to your Zephyr project.
The following example will create a notecard shell command that will return the status of the Notecard. Check out the comments to see how it works!
#include <zephyr/kernel.h>
#include <zephyr/shell/shell.h>
// Include Notecard note-c library
#include <note.h>
// Define the subcommand function
static int cmd_notecard_status(const struct shell *shell, size_t argc, char **argv)
{
// Create a new request to get the Notecard status
J *req = NoteNewRequest("card.status");
// Send the request and get the response
J *rsp = NoteRequestResponse(req);
if (rsp != NULL)
{
char *status = JGetString(rsp, "status");
bool usb = JGetBool(rsp, "usb");
const char* usb_str = (usb == true) ? "true" : "false";
int storage = JGetInt(rsp, "storage");
int time = JGetInt(rsp, "time");
bool connected = JGetBool(rsp, "connected");
const char* connected_str = (connected == true) ? "true" : "false";
bool cell = JGetBool(rsp, "cell");
const char* cell_str = (cell == true) ? "true" : "false";
bool sync = JGetBool(rsp, "sync");
const char* sync_str = (sync == true) ? "true" : "false";
int inbound = JGetInt(rsp, "inbound");
int outbound = JGetInt(rsp, "outbound");
shell_fprintf(shell, SHELL_NORMAL, "status: %s\nusb: %s\nstorage: %d\ntime: %d\nconnected: %s\ncell: %s\nsync: %s\ninbound: %d\noutbound: %d\n", status, usb_str, storage, time, connected_str, cell_str, sync_str, inbound, outbound);
// Clean up the response
NoteDeleteResponse(rsp);
return 0;
}
else {
// If the request fails, print an error message
shell_fprintf(shell, SHELL_ERROR, "Failed to get Notecard status.\n");
// Clean up the response
NoteDeleteResponse(rsp);
return -1;
}
}
// Create a static subcommand set for the notecard commands using the SHELL macro
SHELL_STATIC_SUBCMD_SET_CREATE(
notecard_cmds,
SHELL_CMD(status, NULL, "Get Notecard status", cmd_notecard_status),
SHELL_SUBCMD_SET_END
);
// Register the notecard command with the shell
SHELL_CMD_REGISTER(notecard, ¬ecard_cmds, "Notecard commands", NULL);
int main(void)
{
// Initialize note-c hooks
NoteSetUserAgent((char *)"note-zephyr");
return 0;
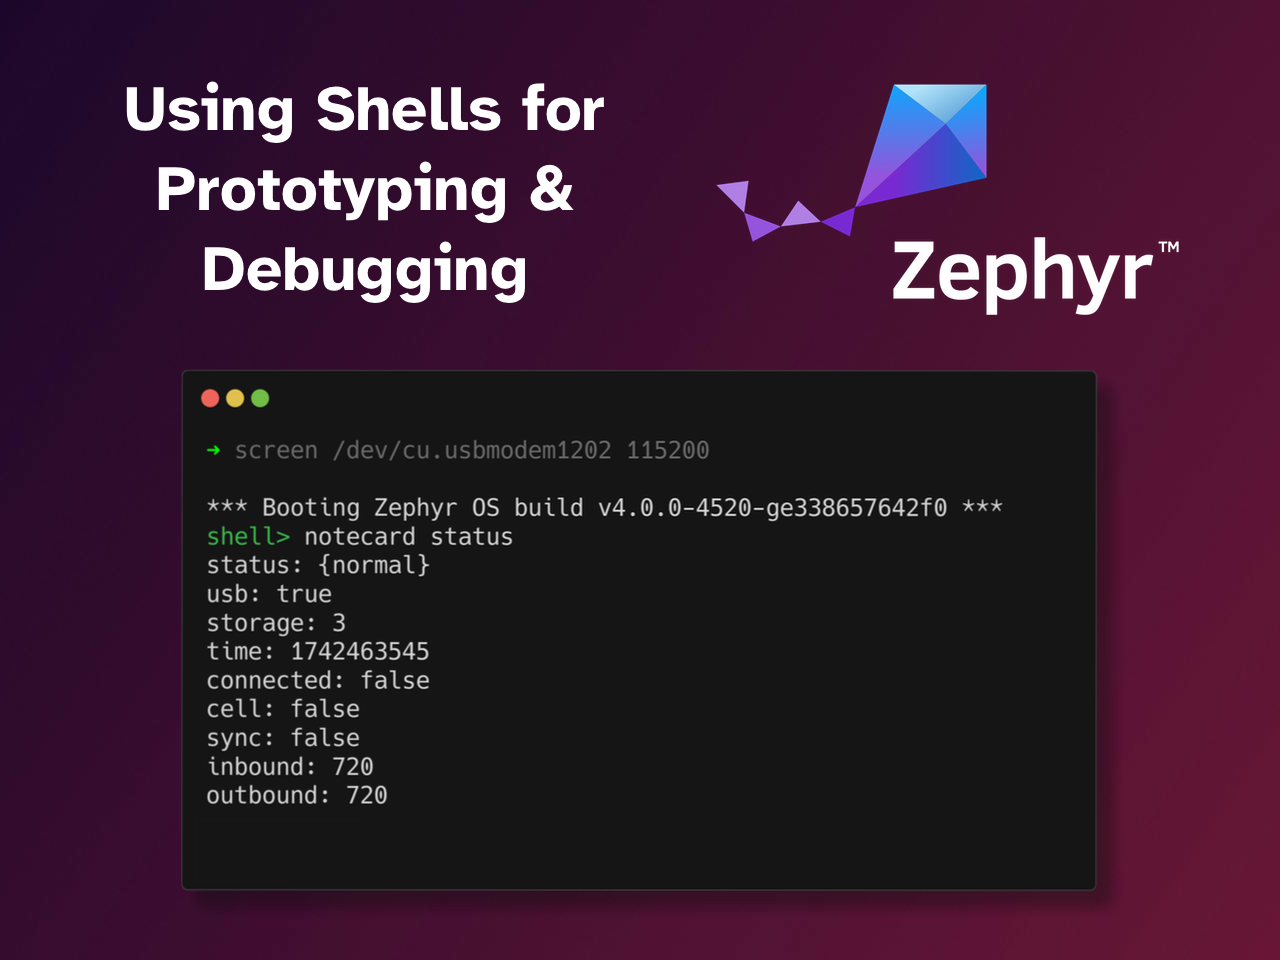
}With this custom module, you can interact with the Notecard directly from the Zephyr shell:
shell> notecard status
status: {normal}
usb: true
storage: 3
time: 1742463545
connected: false
cell: false
sync: false
inbound: 720
outbound: 720
Have a go at adding your own custom commands to your Zephyr project! The example in the note-zephyr repo also include a command for hub.sync that will sync the data to Notehub.
Conclusion
Zephyr's Shell utility provides a powerful interface for working with I2C devices and sensors, making them an invaluable tool when developing applications that integrate with the Notecard. By leveraging the Shell system, you can interactively test communications, debug hardware interactions, and validate your approach before committing to code implementation.
This isn't an extensive deep dive into everything you can do with shells; The shell subsystem can significantly streamline your development process when working on complex threaded applications or nuance networking stacks. Check out Zephyr's list of commonly used shells, there's more than likely something in there that will interest you!
Next time you start a new Zephyr project with the Notecard, you'll have another tool in your toolbox to make your development process more efficient and interactive!