


Welcome to the Blues Developer Blog where we discuss all things wireless connectivity in the IoT...err...alright, yes, this post is a bit of a diversion.
New to Blues?
Learn what we do in this 3-minute video that walks you through how we simplify wireless connectivity.
Learn what we do in this 3-minute video that walks you through how we simplify wireless connectivity.
If you're like me, when a new version of an OS comes out (I don't care of it's macOS, Windows, or Raspberry Pi OS) I feel an irrational need to install it. I'm also exceptionally lazy, so I usually opt for the upgrade path versus a clean install.

Today I want to take a look at how you can update a Raspberry Pi (or compatible single board computer) to the newly released "Bookworm" version of Raspberry Pi OS.
 warning
Let me be crystal clear: This is an unsupported upgrade path that is not endorsed by the Raspberry Pi Foundation.
But I also like to live dangerously.

Before continuing, I'm sure at least some of you are wondering: What exactly is Bookworm?
What is Bookworm?
Bookworm is the codename for a new version of Raspberry Pi OS. Based on Debian GNU/Linux 12, Bookworm is a significant new release for Raspberry Pi enthusiasts.
Arguably the three most important updates in Bookworm are:
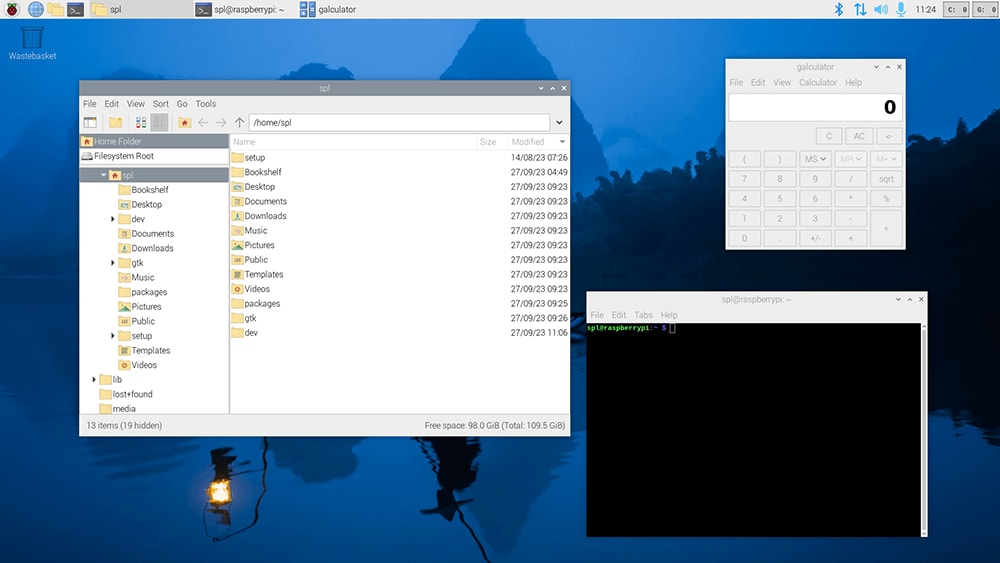
- A switch from the X11 Windowing System to Wayland, which improves security and performance (and includes some pleasing desktop UI updates).
- Adopting PipeWire as the default audio backend (replacing PulseAudio).
- Use of NetworkManager as the default network suite (replacing dhcpcd).
Bullseye to Bookworm Upgrade Options
The good news is there are multiple upgrade options from Bullseye to Bookworm.
The bad news is there are multiple upgrade options from Bullseye to Bookworm.
- Easy Upgrade Path
- Better Upgrade Path
- Best "Upgrade" Path (the officially recommended path, but that's not why you're here)
warningRegardless of the path you take, be sure to make a full backup of the SD card you're using for your current Raspberry Pi installation. Yes, just in case.
The Easy Upgrade Path from Bullseye to Bookworm
Sorry, one more warning:
warningThese instructions are only valid for upgrading from Bullseye. If you are currently running Buster, you'll have to install Bullseye first (but at that point, seriously, just install a fresh version of Bookworm and ignore the rest of this blog post, except for the ending).
Ready? Backup finished? Anxious to get started? Let's begin!
-
Perform a full upgrade of your existing Bullseye installation. Open a Terminal and enter these commands, sequentially:
sudo apt update sudo apt full-upgrade sudo reboot -
After rebooting, enter the following command to edit
sources.list, which is how your Pi references the archives for the Debian repositories:sudo nano /etc/apt/sources.list -
Update the first line, replacing
bullseyewithbookwormand addingnon-free-firmwareto the end of the line. Yoursources.listfile should end up looking something like this:deb http://raspbian.raspberrypi.org/raspbian/ bookworm main contrib non-free rpi non-free-firmware -
Type
ctrl-xto exitnano, making sure you save the file on exit. Next, you need to openraspi.list(to update the Debian Bookworm base) with this command:sudo nano /etc/apt/sources.list.d/raspi.list -
In this file, you only need to change
bullseyetobookworm. Again, hitctrl-x, save your changes, and exit. -
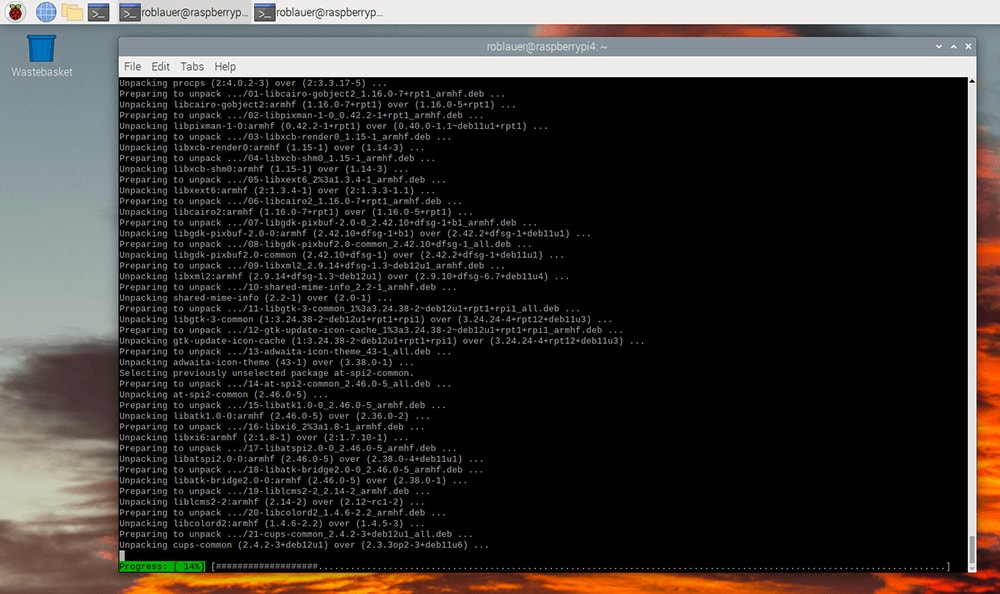
Perform another full upgrade, but this time sourcing from the Bookworm repositories!
sudo apt update sudo apt full-upgrade sudo reboot -
And now you wait. And wait some more.
-
After this final reboot, confirm that you're now running an almost complete version of Bookworm with this command:
cat /etc/os-release
Success! 🥳
However, while it looks and feels like this is a full upgrade to Bookworm, some smarter people than I have pointed out that changes like PipeWire and NetworkManager may not be properly configured via this route. That's what the "Better Way" is for:
A Better Way to Upgrade to Bookworm
Yes, there is a better way. It's not for the faint of heart though.
A brave soul on GitHub is actively updating a series of commands for a full in-place upgrade from Bullseye to Bookworm in this gist.
As of the publishing of this blog post in November 2023, here is the full list of commands. Godspeed.
### WARNING: READ CAREFULLY BEFORE ATTEMPTING ###
#
# Credit to anfractuosity and fgimenezm for figuring out additional details for kernels
#

# Make sure everything is up-to-date
sudo apt-get update && sudo apt-get dist-upgrade

# Point to bookworm repos instead
sudo sed -i -e 's/bullseye/bookworm/g' /etc/apt/sources.list
sudo sed -i -e 's/bullseye/bookworm/g' /etc/apt/sources.list.d/raspi.list

# Do actual update
sudo apt update && sudo apt -y full-upgrade && sudo apt -y clean && sudo apt -y autoremove

# Reboot
sudo reboot

# Remove old config files after doing sanity checks
sudo apt purge ?config-files

### Switch to the new kernels ###
# Prep
sudo dpkg --purge --force-depends raspberrypi-kernel raspberrypi-bootloader
sudo umount /boot
sudo fsck -y /boot
sudo mkdir /boot/firmware
sudo sed -i.bak -e "s#boot#boot/firmware#" /etc/fstab
sudo systemctl daemon-reload
sudo mount /boot/firmware
sudo apt install raspi-firmware

# Actually install the kernels. Make sure you pick the right version for your Pi
# sudo apt install linux-image-rpi-v8 linux-headers-rpi-v8      # 64bit
# sudo apt install linux-image-rpi-v7l linux-headers-rpi-v7l    # 32bit
# sudo apt install linux-image-rpi-v6 linux-headers-rpi-v6

# Append auto_initramfs=1 to the bottom of file where it says [all]
sudo sed -i.bak '$ a\auto_initramfs=1' /boot/firmware/config.txt

# Reboot
sudo reboot

# Verify using "uname -a" (correct as of 10/2023)
# Old kernel
# Linux raspberrypi 6.1.21-v8+ #1642 SMP PREEMPT Mon Apr  3 17:24:16 BST 2023 aarch64 GNU/Linux
# New kernel
# Linux raspberrypi 6.1.0-rpi4-rpi-v8 #1 SMP PREEMPT Debian 1:6.1.54-1+rpt2 (2023-10-05) aarch64 GNU/Linux

# If you are not converted to using NetworkManager, you might lose networking upon reboot.
# Check the ARP table to see what the new DHCP assigned IP address is. You may have to manually set the IP address again
# Thanks to solsticedhiver for identifying this
#
# Switch to NetworkManager from dhcpcd
sudo systemctl enable --now NetworkManager
sudo systemctl disable --now dhcpcd
#
# Set up static IP. Adjust as necessary
sudo nmcli -p connection show
sudo nmcli -p connection show "Wired connection 1"
sudo nmcli con mod "Wired connection 1" ipv4.method manual ipv4.addresses 192.168.1.5/24 ipv4.gateway 192.168.1.1

# Reboot
sudo reboot

#
# Bonus steps
#
# Install btop
sudo apt-get install btop
#
# Update /etc/ssh/sshd_config for up to date, secure by default config. Use ssh-audit to verify
KexAlgorithms sntrup761x25519-sha512@openssh.com,curve25519-sha256,curve25519-sha256@libssh.org
HostKeyAlgorithms ssh-ed25519-cert-v01@openssh.com,ssh-ed25519
Ciphers chacha20-poly1305@openssh.com
MACs hmac-sha2-512-etm@openssh.com,hmac-sha2-256-etm@openssh.com
The Best Way to "Upgrade" to Bookworm
After all we just went through, do you really want to know what I think is the best way to upgrade to Bookworm?
Well, it's quite simple and foolproof:
- Backup all of the directories and files you want to keep from your Pi.
- Download and install the Raspberry Pi Imager.
- Format an SD card and install a fresh copy of Bookworm.
- Copy your files back to the Pi.
- Success! 🥳
Easy Cellular, LoRa, and WiFi on the Pi
Now that you're done, if you're in the market for a new way to add swappable Cellular, LoRa, and WiFi for IoT to your Raspberry Pi, take a look at the Blues Notecard and the Blues Notecarrier Pi HAT.

The cellular-based Notecards provide 500MB of prepaid data and 10 years of global cellular service. These are commonly used in edge deployments of Raspberry Pis that don't have access to reliable WiFi connectivity.
Learn more about adding low-bandwidth cellular to the Raspberry Pi in many of these project tutorials on Hackster.
Happy Hacking! 💙