

In this article I’m going to show off a small project I built, and use it to teach how making third-party web requests works from Notecard.
An Overview of the Project
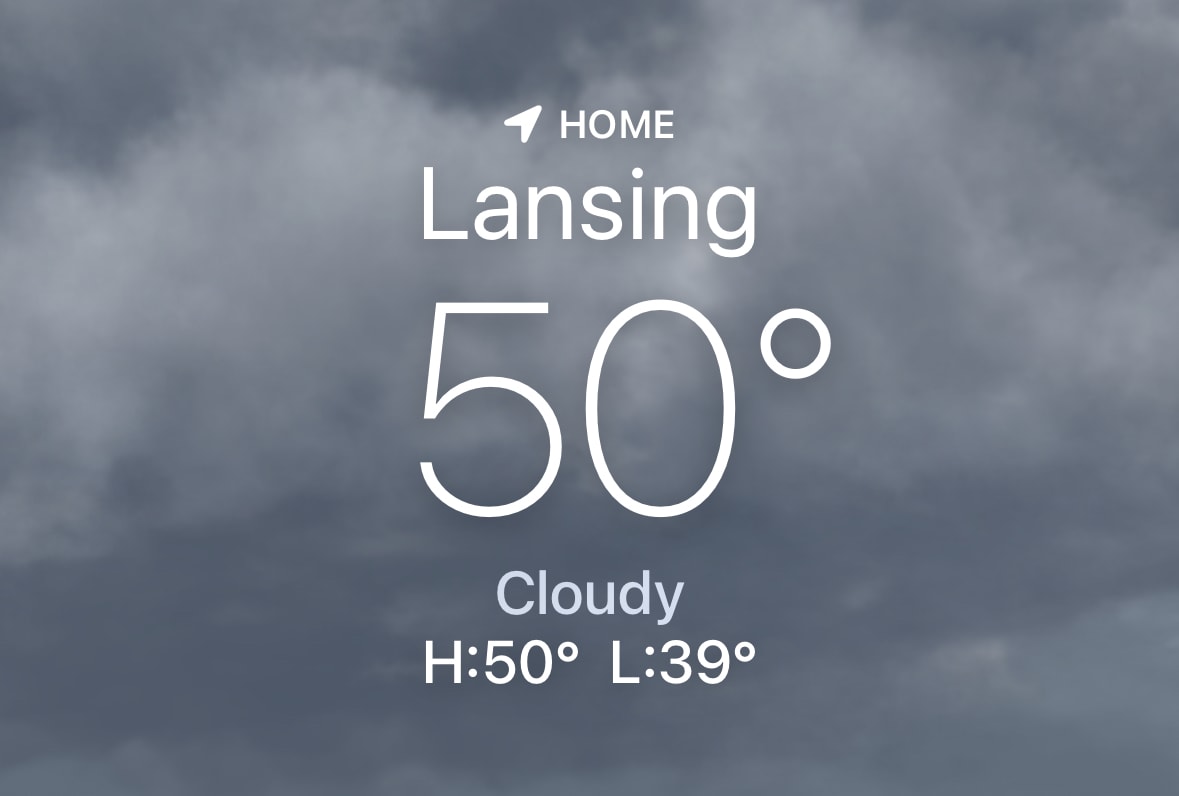
It’s the time of year in Michigan (where I live) where the weather can vary greatly, which means I frequently open the iOS Weather app before stepping outside.
After checking my phone several times in one day I decided it was time to overengineer a better workflow. Here’s what I built:

What you’re seeing is a Notecard, a Notecarrier F, a Blues Cygnet, and an Adafruit 4-digit 7-segment display—all hooked up to show me the current outdoor temperature.
The Notecarrier F is an amazing board for building little prototype projects like this, as it let me connect a lot of hardware without any wiring. For example in this demo I’m using the Notecarrier F’s:
-
Feather-compatible header sockets to attach the Cygnet MCU,
-
M.2 connector to plug in a Notecard,
-
Micro USB connector to supply power,
-
JST connector (for when I want to run my device with a LiPo battery),
-
and Qwiic connector to attach the Adafruit display through a Qwiic cable. (I’m using the Qwiic connector on the Cygnet in the photos, but I could also use the one on the Notecarrier F as they’re both on the same I2C bus.)
Here’s another picture of the hardware from above so you can see how easily all the components connect.

And now that you’ve seen the hardware I’m using, let’s dive into the main focus of this article: how I’m retrieving the outdoor temperature.
Retrieving a Weather Forecast
The temperature in my demo is coming from OpenWeather API, a service that allows you to get weather forecasts from a simple HTTP call that takes a latitude, longitude, and API key.
https://api.openweathermap.org/data/2.5/weather?lat={lat}&lon={lon}&appid={API key}For example, a call to https://api.openweathermap.org/data/2.5/weather?lat=42.76&lon=-84.64&appid=MY_APP_ID returns a JSON structure that looks like this:
{
    "coord": {
        "lon": -84.64,
        "lat": 42.76
    },
    "weather": [
        {
            "id": 800,
            "main": "Clear",
            "description": "clear sky",
            "icon": "01d"
        }
    ],
    "base": "stations",
    "main": {
        "temp": 276.76,
        "feels_like": 271.44,
        "temp_min": 276.19,
        "temp_max": 278.32,
        "pressure": 1017,
        "humidity": 63,
        "sea_level": 1017,
        "grnd_level": 985
    },
    "visibility": 10000,
    "wind": {
        "speed": 8.23,
        "deg": 260,
        "gust": 13.38
    },
    "clouds": {
        "all": 0
    },
    "dt": 1732646210,
    "sys": {
        "type": 1,
        "id": 4665,
        "country": "US",
        "sunrise": 1732625071,
        "sunset": 1732658877
    },
    "timezone": -18000,
    "id": 5014208,
    "name": "Waverly",
    "cod": 200
}
note
noteIf you want to follow along with this article you’ll need to create an account on OpenWeather and create an API key. Once you have your key you can place it in the URL above and perform 1000 requests per day for free.
Making an HTTP call like this is trivial from a desktop computer, but how can you make a call like this from Notecard? Let’s take a look.
Note: The rest of this article assumes you know the basics of Blues Notecard and Notehub. If not, the video below can help you get up to speed.
New to Blues?
Learn what we do in this 3-minute video that walks you through how we simplify wireless connectivity.
Learn what we do in this 3-minute video that walks you through how we simplify wireless connectivity.
Using Web Transactions
The Notecard only knows how to talk to Notehub, by design. This allows Notecard to be more secure, but also means that Notecard cannot directly invoke external services such as weather APIs.
No worries though, as Notecard and Notehub offer a feature that allows you to perform web requests (e.g. GET, PUT, POST, or DELETE) with third-party APIs or cloud services: web transactions.
To perform a web transaction you must:
-
Create a proxy route in Notehub.
-
Configure your Notecard to make web transactions.
-
Issue a
web.request on your Notecard to invoke the external API and handle the response.
Let’s look at each of these steps in detail.
Creating a Proxy Route
Creating a proxy route allows Notehub to act as an intermediary between your Notecard and an external service.
Within a Notehub project, you can create a proxy route by:
-
Clicking Routes.
-
Clicking the Create Route button.
-
Clicking the Select button in the Proxy for Notecard Web Requests box.

From there you’ll need to give your route a Route name, a URL, and an Alias. (Feel free to provide any value as an alias for now—you’ll see how it’s used a later step).

When you’re all set click the Create Route button to save your new route.
With the route created, you next need to configure your Notecard so it can perform web transactions.
Configuring Your Notecard to Make Web Transactions
The Notecard can perform web transactions synchronously or asynchronously. With the synchronous approach, your Notecard makes a request to Notehub and waits for a response, and with the asynchronous approach, your Notecard queues a web transaction, and performs that transaction upon its next connection with Notehub.
In this blog post I’ll be covering the synchronous approach, and you can refer to Storing Web Transaction Responses in DB Notefiles if you want to learn more about an option where you don't wait for the response.
To perform a synchronous web transaction your Notecard must have an active connection to Notehub. The easiest way to do this is to place your Notecard in continuous mode with the hub.set request, and wait until the hub.status request returns "connected": true.
> {"req":"hub.set","mode":"continuous"}
{}

> {"req":"hub.status"}
{"connected":true}
If your Notecard primarily uses periodic mode, you can alternatively use the hub.set request’s "on":true argument to temporarily switch to continuous mode while a web transaction is active.
{
  "req": "hub.set",
  "mode": "periodic",
  "on": true
}
Regardless of which approach you take, now that you have your Notecard configured you’re ready to issue the request.
Issuing web Requests on Your Notecard
The Notecard’s web.* requests (web.get, web.post, etc) allow you to perform requests against third-party APIs and services. For this article we’re using the OpenWeather API, which uses GET, so we’ll use the web.get request.
Here’s the request you can issue to your Notecard to hit the OpenWeather API.
{
    "req": "web.get",
    "route": "GetWeather"
}
That’s it! All you need to provide is a route argument that matches the Alias you used when creating your proxy route in Notehub. If you try running the request you should see JSON data with a weather forecast from the latitude and longitude you provided in your proxy route’s URL.

This works, but the response from the API is fairly verbose, and all we actually care about is the current temperature. To filter the response you can return to your Notehub proxy route, scroll down, and add the following Inbound Response Transform.
{
    "temperature": ((main.temp - 273.15) * 9/5) + 32
}
This syntax uses JSONata to select only the temperature (main.temp) out of the full JSON response, and also does some math to convert the value from Kelvin (yes, Kelvin) to Fahrenheit. After applying the transform, try your web request again and you should have a far more manageable response.

Now that we have a web request running, let’s look at how to use it in firmware.
noteMy device doesn’t move, so I chose to hardcode its latitude and longitude in my Notehub proxy route. However, you could alternatively retrieve your device’s location using the card.location request, and dynamically pass the returned latitude and longitude to your route using the web.get request’s name argument. This would allow your device to continue working as it moved throughout the world.
{
    "req": "web.get",
    "route": "GetWeather",
    "name": "?lat={lat}&lon={lon}appid={appid}"
}
Making Web Requests in Firmware
This project’s firmware is fairly simple as all it needs to do is:
-
Run the
web.getrequest at a given interval. -
Parse the JSON response for the current temperature.
-
Place that temperature on the 7-segment display.
I choose to write the firmware in Arduino both because Adafruit offers a really nice Arduino firmware library for their display, and because I’m pretty comfortable using the Notecard's Arduino SDK, note-arduino.
Here’s the full firmware I’m using for this project:
#include <Arduino.h>
#include <Notecard.h>
#include <Adafruit_LEDBackpack.h>

Notecard notecard;
Adafruit_7segment matrix = Adafruit_7segment();

void setup() {
  static const size_t MAX_SERIAL_WAIT_MS = 5000;
  size_t begin_serial_wait_ms = ::millis();
  // Wait for the serial port to become available
  while (!Serial && (MAX_SERIAL_WAIT_MS > (::millis() - begin_serial_wait_ms)));
  Serial.begin(115200);

  notecard.begin();
  notecard.setDebugOutputStream(Serial);

  matrix.begin(0x70);
  matrix.setBrightness(10);
}

void loop() {
  J *req = notecard.newRequest("web.get");
  if (req != NULL) {
    JAddStringToObject(req, "route", "GetWeather");

    J *rsp = notecard.requestAndResponse(req);
    J *body = JGetObject(rsp, "body");
    if (body != NULL) {
      float temp = JGetNumber(body, "temperature");
      matrix.print(temp);
      matrix.writeDisplay();
    }

    notecard.deleteResponse(rsp);
  }

  // Get the weather every 10 minutes.
  delay(1000 * 60 * 10);
}
A couple of things to note about the firmware:
-
The firmware assumes that you’ve already ran a
hub.setrequest on your Notecard to connect it to a Notehub project. -
Adafruit’s firmware library for their display is quite good, and intelligently handles just about any number you throw at it. I tested with integers, floating-point and negative numbers, and in every case it did the right thing.
-
I chose to get the weather every 10 minutes, but you can play with that number to get the weather as often as you’d like. You could even store the interval in an environment variable so you can update the interval remotely.
-
If you wanted to be more battery efficient, you could use the
card.attnrequest to have the Notecard place your host to sleep, and wake it only to retrieve the temperature and update the display.
With the firmware uploaded to my device, I had successfully built a little weather monitoring app I could place around my house.
Wrapping Up
In this guide we looked at how you can make web requests from Notecard. This article used a side project I built to show off the concept, but you can follow the same set of steps to make web requests in your own applications. If you have any questions let me know in the comments below.