
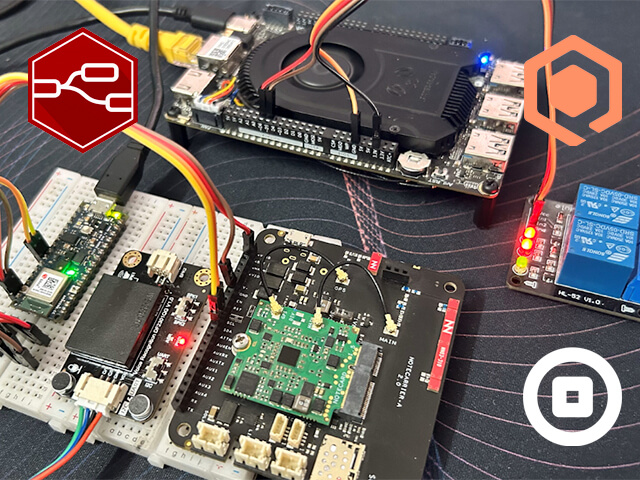

The Blues Notecard is a wireless connectivity module that can be used in environmental sensing, asset tracking, smart agriculture, and much more. But how about home automation?
Home automation is a popular and convenient way to control various devices and appliances in your house using a smartphone, tablet, or voice commands. However, most home automation systems rely on cloud-based services and internet connectivity, which can pose some challenges and risks. In this blog, I'm going to build an offline voice control home automation system that does not depend on cloud-based services or internet connectivity for voice classifications.
The Plan
For this project, we are going to use the DFRobot's Gravity Offline Voice Recognization module. This module can classify custom voice commands without the internet. We can connect this Voice Recognition module with an Arduino Nano 33 BLE sense. Finally, our Blues Notecard can transfer the voice classification data to the Blues Notehub. And then from Notehub, we can route the data as we need to any other cloud service!
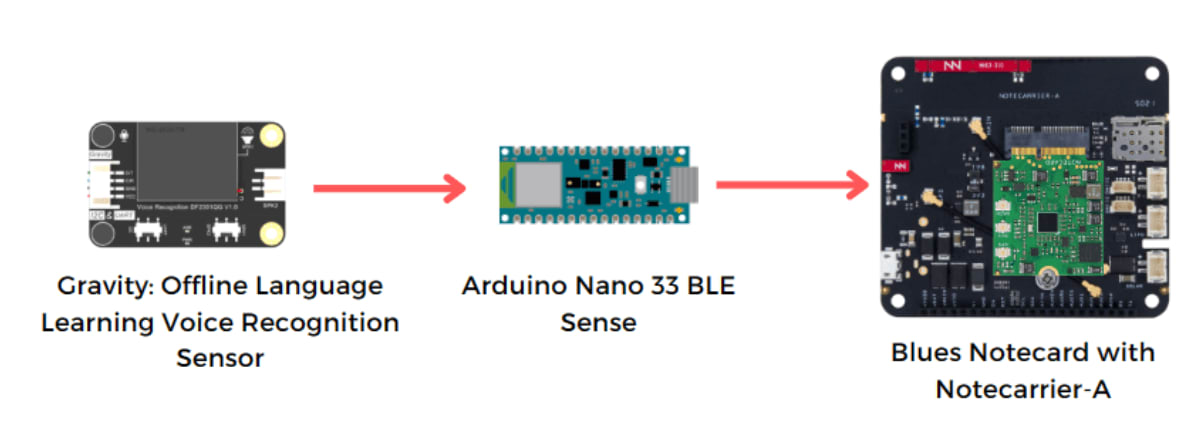
Once the command is sent to the cloud we can retrieve the data via the Qubitro MQTT platform, and by using Node-RED and LattePanda 3 Delta we can build our home automation unit.

Wiring
First, connect the Gravity Offline Voice Recognition sensor with the Arduino Nano 33 BLE Sense via the I2C port. Also, connect the Blues Notecard with the Arduino via the same I2C lane.

Once we are done with the hardware setup, we need to train the voice sensor with our custom voice commands.
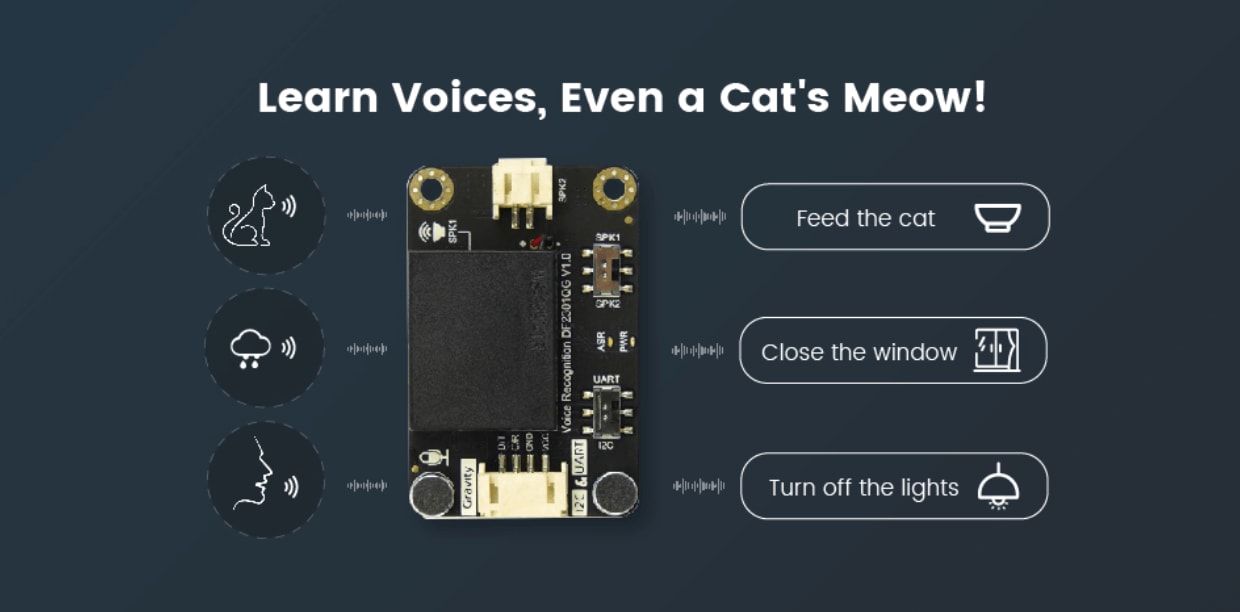
The default wake word is "Hello Robot". Also, The Gravity: Offline Language
Learning Voice Recognition Sensor has 121 built-in voice commands that you can
use to control your devices or applications:

Apart from this, we can add our own 15 voice commands. To add our commands please visit the product wiki page. Each command has a command ID, and based on this command ID we are going to send our data to the cloud.
Coding Firmware
In the Arduino sketch below I try to retrieve the command ID of the voice sensor module, and based on the command ID, I send two different sets of data to the cloud via the Blues Notecard.
uint8_t CMDID = 0;
CMDID = DF2301Q.getCMDID();

if (CMDID == 5) {
  digitalWrite(GREEN, LOW);  //Turn on the LED
  Serial.println("received'Turn on the light");
  if (blues == 1) {
    J *req = notecard.newRequest("note.add");
    if (req != NULL)
    {
      JAddBoolToObject(req, "sync", true);
      J *body = JAddObjectToObject(req, "body");
      if (body != NULL)
      {
        JAddStringToObject(body, "State", "received'Turn on the light");
        JAddNumberToObject(body, "CMID", CMDID);
      }
      notecard.sendRequest(req);
    }
  }
}
Here is the code snippet for turning off the relay:
if (CMDID == 6) {
  digitalWrite(GREEN, HIGH);   //Turn off the LED
  Serial.println("received'Turn off the light");
  if (blues == 1) {
    J *req1 = notecard.newRequest("note.add");
    if (req1 != NULL)
    {
      JAddBoolToObject(req1, "sync", true);
      J *body = JAddObjectToObject(req1, "body");
      if (body != NULL)
      {
        JAddStringToObject(body, "State", "received'Turn off the light");
        JAddNumberToObject(body, "CMID", CMDID);
      }
      notecard.sendRequest(req1);
    }
  }
}
Before uploading the Arduino sketch to the Arduino Nano 33 BLE Sense, create a new project on Blues Notehub and use the product ID in the Arduino sketch.

Once you upload the code to the Arduino Nano 33 BLE Sense, open up the serial monitor and observe the results:

Based on our voice command, the Blues Notecard will send a different payload to the cloud.
You can find the complete Arduino sketch on my GitHub page.
Cloud Setup
Now we can see all our voice sensor data in the Blues Notehub.

Next, we need to retrieve that data via Node-RED. For that, we are going to use Qubitro. Qubitro provides simple and reliable data management. Also, we can create some awesome dashboards with Qubitro's dashboard engine.
Follow this blog post to learn how to route data from Notehub to Qubitro.
Once we get all our data in the Qubitro portal, we can next set up our local Node-RED server to retrieve the Qubitro data.

Node-RED Server Setup
To install Node-RED in the LattePanda 3 Delta first run this command in the command prompt. Before starting the Node-RED installation, install Node JS on the LattePanda 3 Delta.
Run the following command to install Node-RED:
npm install -g --unsafe-perm Node-REDOnce you have done the installation, run the following command and you can see the response:
Node-RED
In this message, you can see the IP address with the port number. In my case it
is http://127.0.0.1:1880. Enter this local IP address in the LattePanda's
browser. It will open the Node-RED dashboard:

Next, open up the menu, select the import option, and then paste in the JSON. It will get the payload from the Qubitro and it will trigger actions.
NOTE: You have to enter your Qubitro credentials in the MQTT pallet.

Next, in order to control the hardware units. We are going to use the LattePanda 3's internal Arduino core:
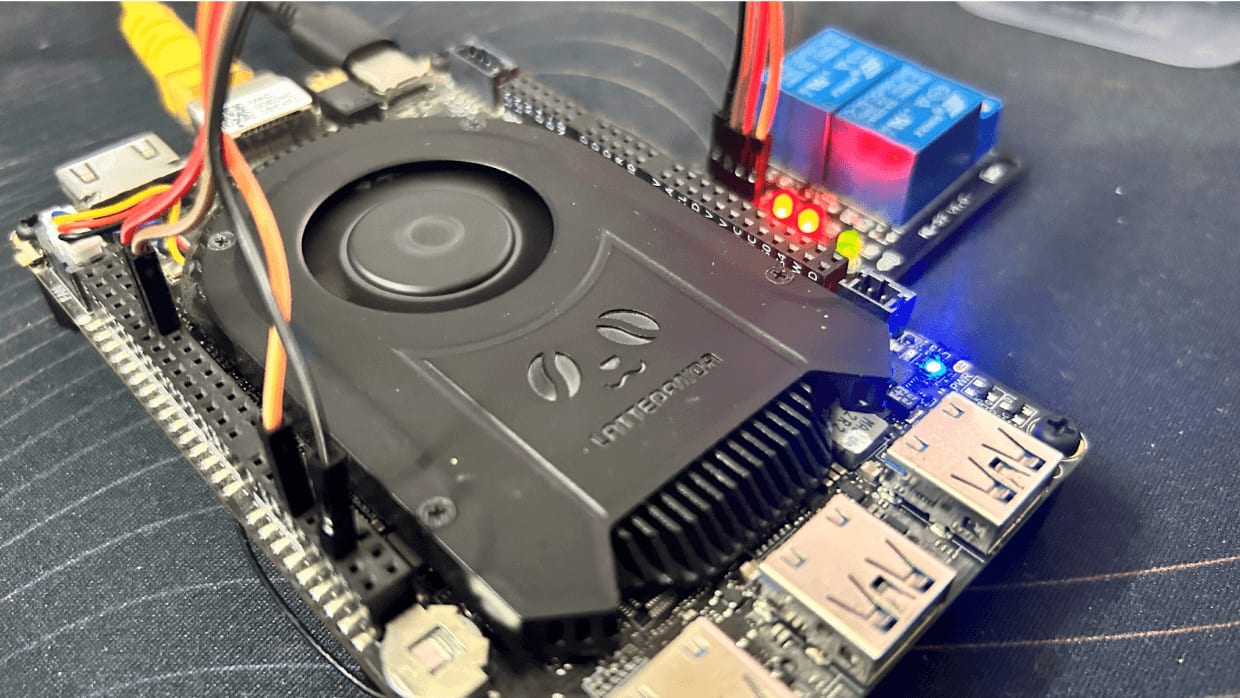
Here is the simple Arduino sketch that can control relay blocks based on serial input:
void setup()
{
  pinMode(13, OUTPUT);
  pinMode(12, OUTPUT);
  Serial.begin(115200);
}

void loop()
{
  if (Serial.available())
  {
    char state = Serial.read();
    if (state == '0')
    {
      digitalWrite(13, HIGH);
      digitalWrite(12, HIGH);
      Serial.println("Command completed Relay turned ON");
    }
    if (state == '1')
    {
      digitalWrite(13, LOW);
      digitalWrite(12, LOW);
      Serial.println("Command completed Relay turned OFF");
    }
  }
}
With that we're done with all our setup, so next just deploy and see the project in action.

Conclusion
In this article, I have shown you how to build an offline voice control home automation system with Node-RED and the Blues Notecard/Notehub. This system can provide you with a secure, reliable, and cost-effective way to control your devices and appliances with your voice commands.
Get started with Blues with your own Starter Kit!