
Imagine you have a fleet of Notecard-connected devices that you want to take payments for. This might be vending machines, charging stations, smart lockers or smart bikes. Traditionally, integrating payments into IoT systems requires complex infrastructure, PCI compliance considerations, and significant firmware and server-side development.
Using the workflow described in this blog post you could, for example, enable a washing machine to be started upon receiving a payment. Check out the other examples in the Practical Use Cases.
This blog post demonstrates a elegant yet simple solution: using Stripe's Payment Links combined with Notecard & Notehub API to create a seamless payment experience that requires minimal code and infrastructure. This approach is incredibly straightforward, Stripe handles all the payment processing and compliance, while Notehub orchestrates the host communication using Notecard.
Find the source code for this blog post here.
How It Works
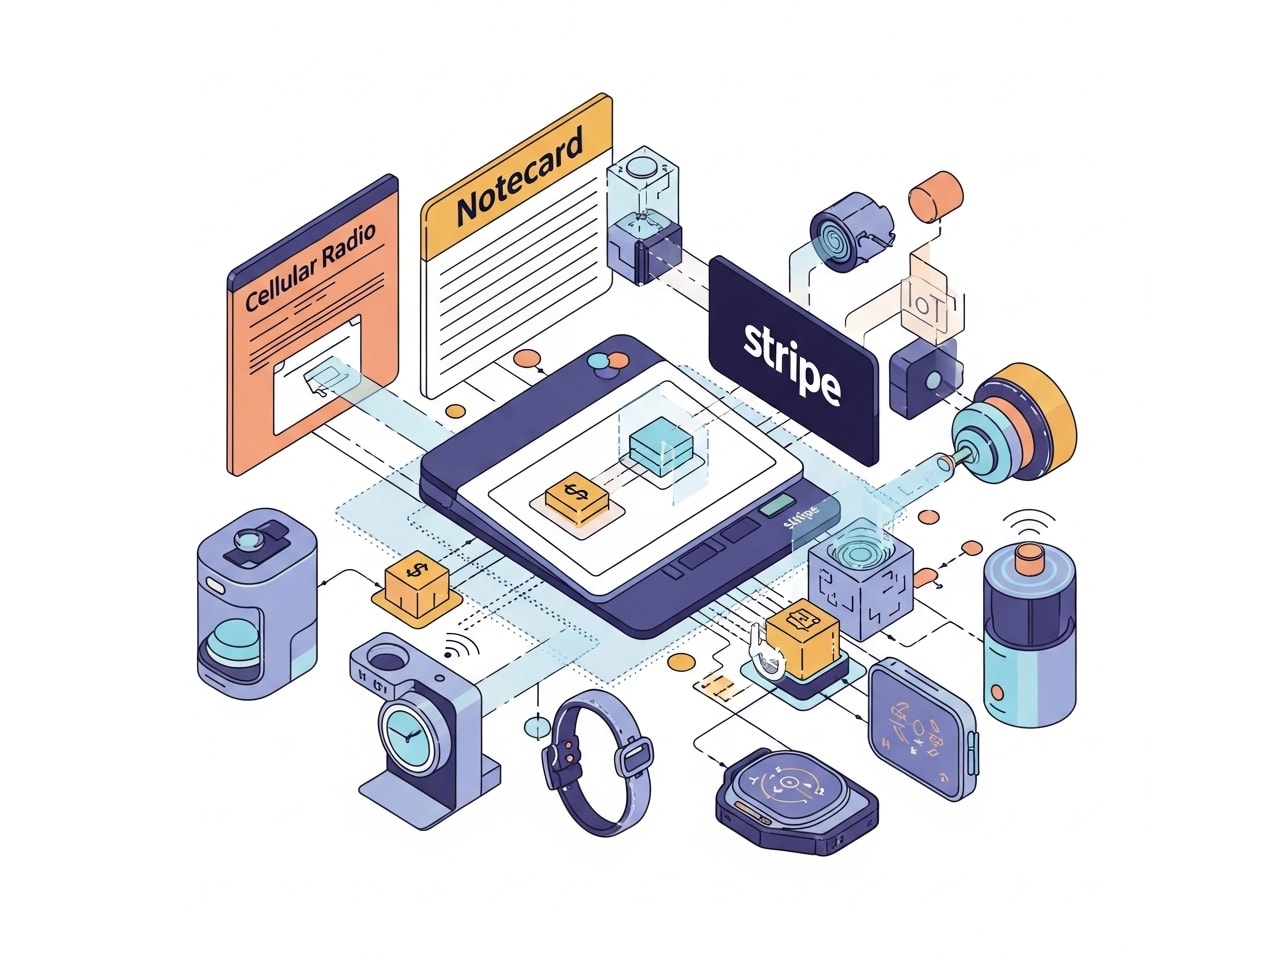
The system consists of three main components:
- Golang Web Server: Acts as a bridge between Stripe and Notehub, handling both payment webhooks and using the Notehub API to send notes to Notecards.
- Stripe Payment Links: Handles the actual payment processing and compliance.
- Notecard Devices: Receive payment confirmations and update their state.
This is what the complete flow looks like:

The Architecture
Server Initialization
When the server starts, it performs several setup operations:
- Authenticates with Notehub using OAuth2 credentials to get an auth token
- Discovers all provisioned devices in the Notehub project
- Creates unique
Stripe Payment Linksfor each device - Maintains a mapping between device UIDs and their payment links
This approach means each device gets its own dedicated payment URL, making it easy to track which payments belong to which devices.
When a Payment Link is created, it is stored in a map of device UIDs to Payment Link URLs.
This map is used to redirect customers to the correct payment page when they visit the /pay?device=xyz endpoint.
func (s *Server) createPaymentLink(device NotehubDevice) (string, error) {
	params := &stripe.PaymentLinkParams{
		LineItems: []*stripe.PaymentLinkLineItemParams{
			{
				Price:    stripe.String(s.stripePriceID),
				Quantity: stripe.Int64(1),
			},
		},
		Metadata: map[string]string{
			"device_uid": device.UID,
		},
	}

	link, err := paymentlink.New(params)
	if err != nil {
		return "", err
	}

	return link.URL, nil
}
Payment Processing
The payment flow is remarkably simple.
When a customer visits the /pay?device=xyz endpoint,
where xyz is the device UID, the server redirects them to the Stripe Payment Link for the device.
No sensitive payment data ever touches your server and there's no need to worry about storing payment data.
func (s *Server) handlePayment(w http.ResponseWriter, r *http.Request) {
    deviceUID := r.URL.Query().Get("device")
    if deviceUID == "" {
        http.Error(w, "Missing device parameter", http.StatusBadRequest)
        return
    }

    s.mu.RLock()
    paymentLinkURL, exists := s.deviceLinks[deviceUID]
    s.mu.RUnlock()

    if !exists {
        http.Error(w, "Device not found", http.StatusNotFound)
        return
    }

    log.Printf("Redirecting to payment link for device %s", deviceUID)
    http.Redirect(w, r, paymentLinkURL, http.StatusTemporaryRedirect)
}
Once the payment is complete, Stripe sends a webhook to the web server, which in turn uses the Notehub API to send a note to the device.
Sending the Payment Confirmation
The arguably the most interesting part of this architecture is the sending of the payment confirmation notefile to the device. Once the payment is successful, Stripe sends a webhook to your server, which then communicates with the specific device.
This is a simplified example. Check out the GitHub repository for the full code.
func (s *Server) handleStripeWebhook(w http.ResponseWriter, r *http.Request) {
    // Verify webhook signature for security
    // Parse the webhook event
    // Extract device UID from payment metadata

    if event.Type == "checkout.session.completed" {
        deviceUID := event.Data.Object.Metadata["device_uid"]

        // Send note to the specific device
        if err := s.sendDeviceNote(deviceUID, "payment.qi", map[string]interface{}{
            "payment_status": "completed",
            "timestamp":      time.Now().Unix(),
            "session_id":     event.Data.Object.ID,
        }); err != nil {
            log.Printf("Failed to send note to device %s: %v", deviceUID, err)
        }
    }
}
Notecard receives a JSON payload in its payment.qi notefile, which it can use to update its host's state:
{
  "payment_status": "completed",
  "timestamp": 1640995200,
  "session_id": "cs_test_..."
}
Configuring Stripe
To get set up in Stripe, you'll need to create a product and price.
You'll also need to set up a webhook endpoint to listen for checkout.session.completed events.
1. Create a Product and Price
First, you'll need to create a product and price in your Stripe dashboard (or as shown below using the Stripe CLI):
# Using Stripe CLI to generate a product, e.g. prod_xxx
stripe products create --name "Notecard Payment" --description "Payment for Notecard usage"

# Using Stripe CLI to generate a price, e.g. price_xxx
stripe prices create --unit-amount 5 --currency usd --product prod_xxx
We'll need the price ID for the web server to know which price to use for the devices.
2. Configure Webhook Endpoint
Set up a webhook endpoint in Stripe to listen for checkout.session.completed events:
- Go to your
Stripe Dashboard→Developers→Webhooks - Add endpoint:
https://yourdomain.com/webhook/stripe - Select event:
checkout.session.completed - Copy the webhook signing secret to use in your
.envfile
A useful development tip is that you can use the Stripe CLI to test your webhook endpoint.
stripe listen --forward-to localhost:3000/webhook/stripeWhile you're testing, all events will be routed to the local web server.
3. Environment Variables
Create a .env file with your Stripe credentials:
STRIPE_SECRET_KEY=sk_test_...
STRIPE_PRICE_ID=price_...
STRIPE_WEBHOOK_SECRET=whsec_...
Configuring Notehub
1. Create a Notehub Project
Set up a new project in Notehub and provision your Notecard devices.
Each device will automatically get a unique Payment Link, when the server starts.
2. Configure OAuth2 Credentials
Generate OAuth2 credentials for your Notehub project and copy the Project UID into your .env file:
NOTEHUB_CLIENT_ID=your_client_id
NOTEHUB_CLIENT_SECRET=your_client_secret
NOTEHUB_PROJECT_UID=app:xxxxxxxx-xxxx-xxxx-xxxx-xxxxxxxxxxxx
Configuring Notecard & Host
You'll want to make sure that you configure your Notecard correctly to receive the payment notefile.
To be instantanously notified of the payment, you'll want to configure Notecard to be in continuous mode and set sync to true.
J *req = notecard.newRequest("hub.set");
JAddStringToObject(req, "product", "com.my-company.my-name:my-project");
JAddStringToObject(req, "mode", "continuous");
JAddBoolToObject(req, "sync", true);
notecard.sendRequestWithRetry(req, 5);
Being in continuous mode does mean that Notecard will be drawing more power,
so you'll want to make sure that you're using a mains-powered device.
You could use periodic mode, but you'll need to consider how this will work given that
the payment will only be received when Notecard syncs with Notehub.
Your Notecard's Host (e.g. a Swan or Cygnet) can then listen and handle the payment confirmation.
If there is a new payment.qi notefile, the host can use it to update its state.
For example if this were powering an automated washing machine system, this might
enable power to the washing machine or start the wash cycle.
// Arduino example
J *req = notecard.newRequest("note.get");
JAddStringToObject(req, "file", "payment.qi");
JAddBoolToObject(req, "delete", true);
J *rsp = notecard.requestAndResponse(req);

if (JGetString(rsp, "body.payment_status") != NULL) {
    const char *status = JGetString(rsp, "body.payment_status");
    if (strcmp(status, "completed") == 0) {
        // Payment confirmed! Enable service, start the wash cycle, dispense product, etc.
        enableService();
    }
}
Using the Notecard QR Code
Handily, every Notecard comes with a pre-provisioned QR code sticker which can be used to direct a URL to a custom dashboard. A customer could simply scan the QR code to be redirected to the payment page.
Notehub provides a domain, qrgo.org, that redirects requests for qrgo.org/id/[deviceUID] to a dashboard URL that you can configure.
This workflow allows you to use the loose stickers provided with each Notecard,
or to print your own QR codes, that point to qrgo.org/id/[deviceUID] on physical devices,
and configure the final resolved URL in Notehub.
If you want to set these up for the stripe payment example, you can set the dashboard URL to https://yourdomain.com/pay?device=[deviceUID].
Running the Demo
# Clone and setup
git clone https://github.com/Bucknalla/note-stripe-payment
cd note-stripe-payment

# Install dependencies (At least Go 1.22 is required)
go mod tidy

# Configure environment variables
cp .env.example .env
# Edit .env with your credentials

# Run the server
go run main.go
The server exposes several endpoints:
/pay?device=dev:123456- Redirect to payment for specific device/webhook/stripe- Stripe webhook handler/refresh-devices- Manually refresh device list/health- System status and device count
Practical Use Cases
This architecture will work for several IoT scenarios:
Vending Machines
- Customer scans QR code with device UID
- Gets redirected to payment page
- After payment, machine dispenses product
EV Charging Stations
- Driver enters device ID or scans QR code
- Pays for charging session
- Charging station receives confirmation and activates
Smart Lockers
- User pays for locker rental
- Locker receives payment confirmation
- Locker unlocks and starts rental period
Parking Meters
- Driver pays for parking time
- Meter receives payment confirmation
- Meter activates for specified duration
Benefits of This Approach
For Developers of IoT systems, this approach offers:
- Minimal Code: The entire server is less than 400 lines of Go
- No PCI Compliance: Stripe handles all payment security
- Scalable: Automatically works with any number of devices
- Reliable: Built on proven Stripe and Notecard infrastructure
For Businesses, this approach offers:
- Quick Time-to-Market: Get payments working in hours, not weeks
- Low Operational Overhead: No payment infrastructure to maintain
- Global Reach: Stripe supports payments in 135+ currencies
- Real-time Notifications: Devices know immediately when payments complete
Considerations for Production
While this is a great starting point for a proof of concept, there are a few things to consider for production.
- Robust Data Storage: Consider how you'll store the mapping between device UIDs and
Payment Links. - Improved Error Handling: Consider more appropriate error handling for Stripe and Notehub.
- Dyanmic Price ID: Consider how you'll handle dynamic price IDs for the devices, this could use Notehub Environment Variables.
The system includes several security best practices but it's worth considering:
- Webhook Signature Verification: Ensures webhooks actually come from Stripe
- Environment Variables: Keeps sensitive credentials secure
- OAuth2 Authentication: Secure API access to Notehub
- No Payment Data Storage: All payment processing happens on Stripe's servers
- Encrypted Communication: Consider using encryption to secure the communication between Notehub and Notecard
Conclusion
This blog post demonstrates how modern payment APIs and IoT connectivity can work together to create powerful, yet simple solutions. By leveraging Stripe's payment expertise and Notecard's IoT connectivity, you can add payments to your IoT devices without the complexity typically associated with such integrations.
The combination of Stripe Payment Links and Notecard devices creates a robust
foundation for IoT commerce applications, whether you're building the next generation
of vending machines, charging stations, or an entirely new category of connected devices.