Configuring a Twilio Route
Notehub.io can support a broad range of API endpoints by utilizing the Route feature. This guide provides instructions for leveraging the Twilio route type to invoke the Twilio API, thus enabling your Notecard applications to communicate and send alerts over SMS.
Prerequisites
In order to follow the instructions in this guide, you'll need the following:
- A Notecard assigned to a Notehub.io project, with data synching from the Notecard to Notehub.io. (If you're unsure how to do this check out the Notecard quickstart.)
- A Twilio account, with at least one Verified Caller ID established. A verified caller ID is required to send messages from your Twilio account. Typically, this is your personal telephone number.
Configuring the Route
To send SMS messages, you must first create a Notehub route that will automatically forward your data from Notehub events to the Twilio SMS API.
-
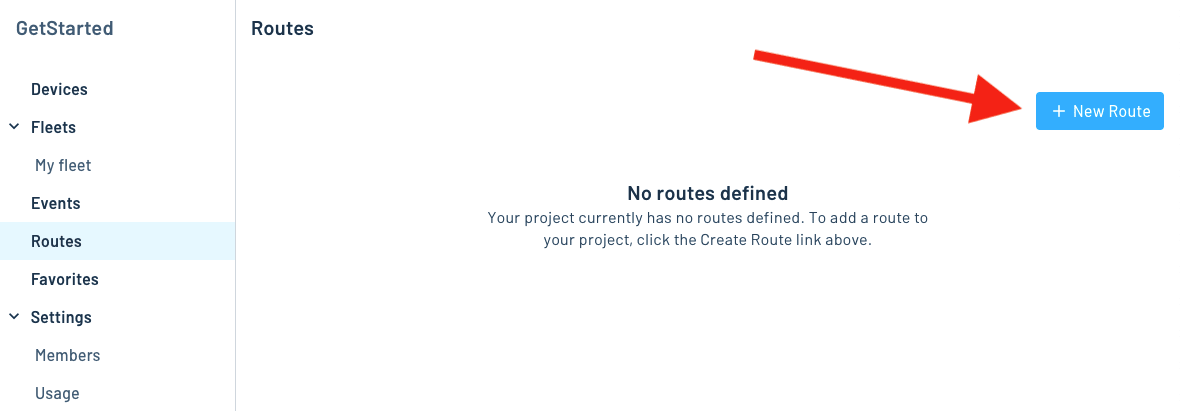
Within your Notehub project, navigate to the Routes screen and then click the New Route button.
-
Select the Twilio route type.

-
Give the route a name, for example Twilio.

-
In your Twilio Console, locate your Account Info, and then copy/paste the Account SID and Auth Token to your Notehub route as shown in the image below.

-
Next, you'll need to give your route a From Number, which controls the phone number your message is sent from, and must be a valid Twilio Phone Number. See How to Search for and Buy a Twilio Phone Number on the Twilio documentation for more information.
-
After that, provide the phone number you'd like to receive SMS messages (usually your personal phone number while testing) in the Notehub route's To Number field.
 note
note- The To Number must be a Verified Caller ID in Twilio. Twilio requires you to validate one number when creating an account, so if you're using your personal number you likely already verified it.
- The number provided MUST be formatted in the manner specified by the E.164 international telephone numbering plan, which it will be if you copy/paste from Twilio directly.
- Instead of a static phone number, you can supply a
placeholder variable
(for example,
[body.customTo]) so that each SMS is sent to a number drawn from the event data (see below).
-
Provide a value for the route's Message field, which is the body of the SMS that Twilio will send. The Message field is required: if the body will be the same every time, type the static message directly into the field; if the body will vary per event, use a placeholder variable such as
[body.customMessage]so the message text is drawn from the event data at routing time (see below). -
After that, scroll down in Notehub to the Filters section and change the Notefiles dropdown to Selected Notefiles. Select the Notefiles you want to trigger SMS messages, or type them in the Include Other Notefiles textbox. For example, the image below shows how to select only
twilio.qoNotefiles.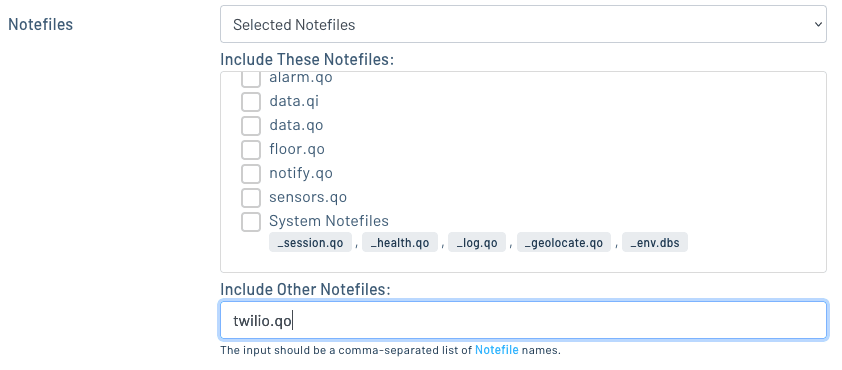
-
Lastly, ensure the route is enabled, and click Create Route.
Customize with Placeholder Variables and JSONata
If you need to dynamically assign the To Number, From Number, or Message of the SMS, the best way to accomplish this is with placeholder variables and (optionally) a JSONata expression.
-
Placeholder variables let you replace segments of Route settings with data from a device, event, or environment variable. In this example, we will use data elements from the
bodyof a Note to populate the To Number, From Number, and Message of an SMS.{ "device": "dev:000000000000000", "body": { "customMessage": "Hello from Notecard!", "customTo": "+18885551212", "customFrom": "+18885552121" } } -
In your Twilio Route settings, set the following event attribute placeholders:

-
(Optional) You can also utilize JSONata to conditionally transform Twilio Route settings on-the-fly. For example, if you wanted to send a different message based on a DeviceUID, you could use the following JSONata expression in your Route settings:
{
   "device": device,
   "body": {
     "customMessage": $contains(device, "dev:000000000000000" )? "It's device 0000..." : "It's NOT device 0000...",
     "customTo": body.customTo,
     "customFrom": body.customFrom
   }
}
Testing the Route
Now that you've created a Notehub route let's look at how to test it. In this section you'll create a Notehub event that triggers your newly created route, and ultimately send yourself an SMS message.
-
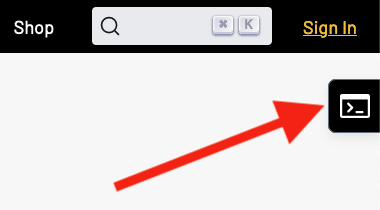
Use the In-Browser Terminal to connect to your Notecard via USB. (If you're unsure how to do this check out the Notecard quickstart.)
-
Associate your Notecard with a Notehub project using the
hub.setcommand (if it isn't already).{ "req": "hub.set", "product": "com.example.yourname:yourproject" }noteBe sure to substitute your product's actual ProductUID for the example string provided above.
-
Queue the following Note onto the
twilio.qoNotefile.{ "req": "note.add", "file": "twilio.qo", "sync": true, "body": { "customMessage": "Hello from Notecard!", "customTo": "+18885551212", "customFrom": "+18885552121" } } -
Because the Note above contains a
"sync": trueattribute, the Notecard will automatically sync this Note to Notehub. Once Notehub receives the event it automatically invokes the Twilio API — and after that, you should see a notification on your device!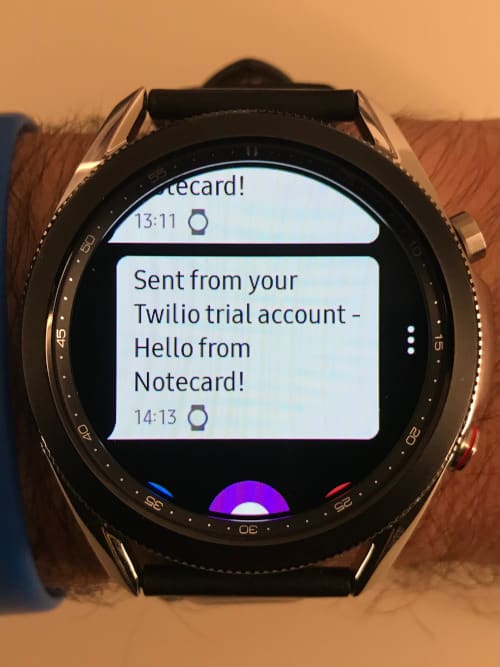
Debugging the Route
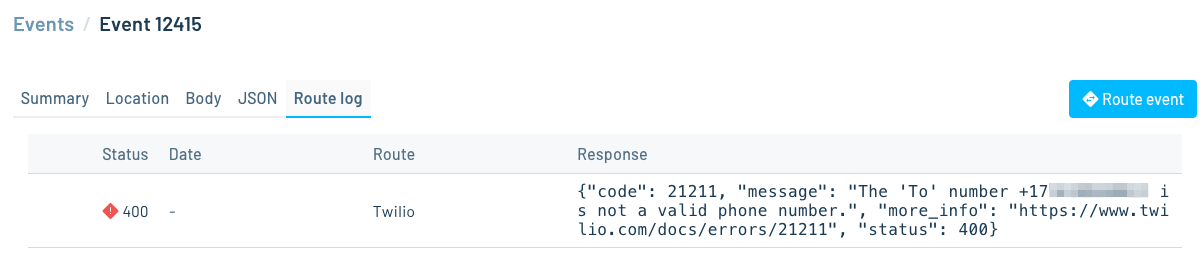
If your messages aren't being sent through Twilio as expected, navigate to the Events section in your Notehub project.
Here you'll see all events associated with your project, including the twilio.qo
event you sent in the previous section. If the event failed to route to Twilio
successfully you'll see an error icon for that event on the Events page.
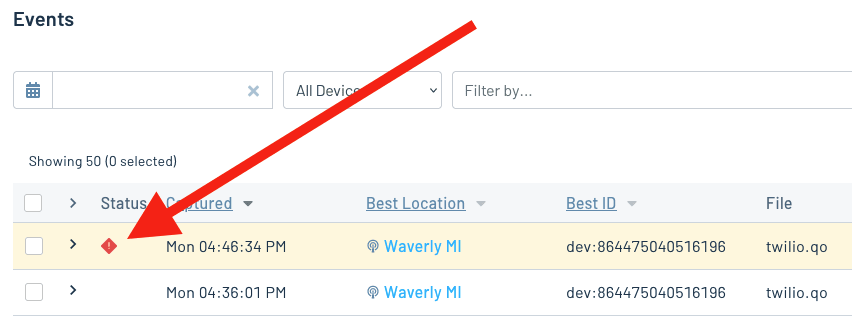
If you click the icon you'll see the response from the Twilio API, which often contains more information on why the request failed. For example, the error below shows what happens if you try to send a message to an invalid phone number.