Using STM32Cube VS Code Extension with Cygnet
STM32CubeIDE for Visual Studio Code is STMicroelectronics' official extension pack for VS Code. It brings project creation, a CMake build, and ST-LINK debugging for STM32 devices into the editor. Paired with STM32CubeMX, it is a good fit for writing STM32Cube firmware for Cygnet without leaving VS Code.
This guide covers generating a project for Cygnet's microcontroller in STM32CubeIDE for Visual Studio Code, and how to build, flash, and step debug the result in VS Code.
Using Notecarrier CX
Notecarrier CX has a pre-soldered STM32L433 (the same MCU as Blues Cygnet), so you can follow this guide with one in place of a separate host.
If you are NOT using an ST-LINK to flash firmware to your CX, set the DIP switch
next to the USB-C connector to HST and fully power cycle the board. Flashing
with an ST-LINK goes over the debug jack, so the switch position doesn't matter.

Install Prerequisites
Linux-only setup required for accessing the device in DFU mode and virtual COM port.
-
Create a
/etc/udev/rules.d/rule for the device in DFU mode.(echo '# DFU (Internal bootloader for STM32 MCUs)'; echo 'SUBSYSTEM=="usb", ATTRS{idVendor}=="0483", ATTRS{idProduct}=="df11", MODE="0664", GROUP="plugdev"') | sudo tee /etc/udev/rules.d/49-stdfu-permissions.rules > /dev/null -
Create a
/etc/udev/rules.d/rule for the device's virtual COM port.(echo '# Virtual COM Port for STM32 MCUs'; echo 'SUBSYSTEM=="usb", ATTRS{idVendor}=="0483", ATTRS{idProduct}=="5740", MODE="0664", GROUP="plugdev"') | sudo tee /etc/udev/rules.d/49-stvcp-permissions.rules > /dev/null -
Add active user to
plugdevgroup in/etc/group.sudo usermod -aG plugdev $USER
-
Install the latest version of Visual Studio Code (if you haven't done so already). The extension pack requires version
1.94.2or later. -
Open the Extensions view in the Activity Bar, search for
STM32, and install STM32CubeIDE for Visual Studio Code, published by STMicroelectronics.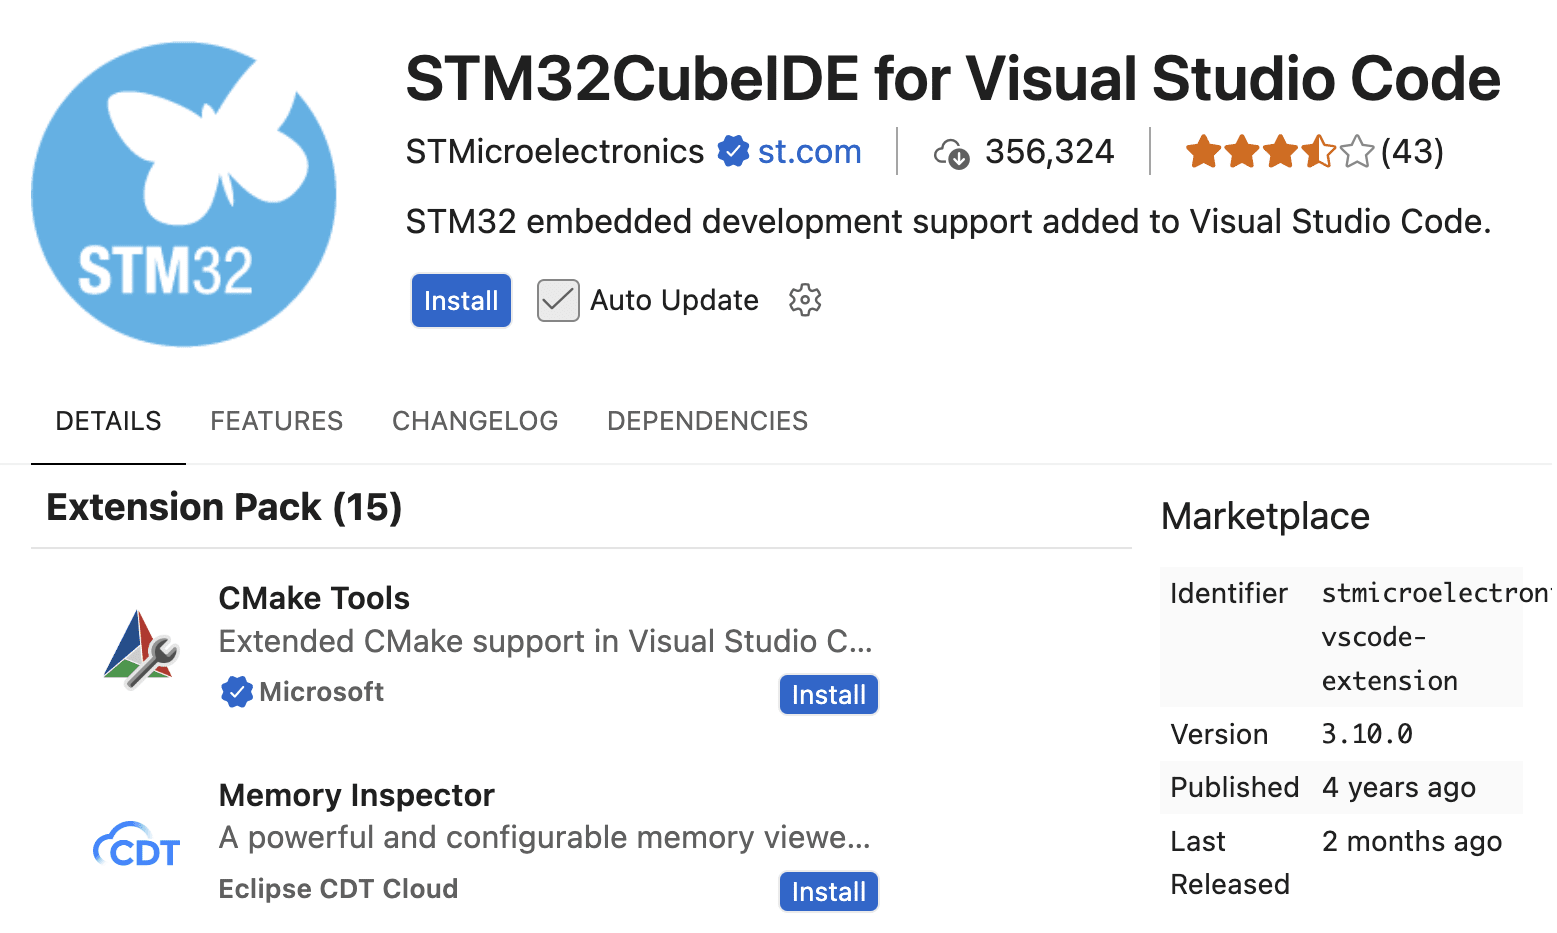
This is an extension pack, so installing it also pulls in the component extensions it depends on: the project manager, the CMake build integration, the ST-LINK and J-Link debug adapters,
clangd, the register and RTOS views, and a serial monitor. -
Windows/Linux, only if using an ST-LINK: Install the ST-LINK host support your platform needs. Click the STM32Cube (butterfly) icon that the extension adds to the Activity Bar and look at the STM32Cube Resources section:
-
Windows: select Install ST-Link USB drivers and run the installer it downloads. This needs administrator privileges, which is why the extension cannot do it for you on first run.
-
Linux: select Install ST-Link udev rules. That entry covers the probe; the DFU and virtual COM port rules above cover the target, so you want both.
-
-
The first time you create or build a project, the extension downloads the command-line tools it needs (the compiler toolchain, CMake, Ninja, and the GDB servers) through its bundle manager.
-
Next, download and install STM32CubeMX. You configure Cygnet's clocks and peripherals there and generate the HAL code the project is built on.
 warning
Install classic STM32CubeMX, not STM32CubeMX2. STM32CubeMX2 targets ST's newer HAL2 series, starting with STM32C5; Cygnet's STM32L433 is a HAL1 device and is not among the series it supports.
 AI Tip
STMicroelectronics does not ship a conventional installer on every platform. The Windows download is an ordinary
.exewizard, but the macOS download is a.tar.gzholding an installer.appthat Gatekeeper quarantines, and the Linux download is a bare installer binary you have to mark executable yourself. The exact filename changes with every release and CPU architecture, so an AI agent is the quickest way to get commands that match the file you actually downloaded.PromptI downloaded STM32CubeMX from STMicroelectronics and ended up with an archive named
<your-downloaded-filename>. There is no ordinary installer inside it. Walk me through installing it on my machine, with exact shell commands: how to extract the archive, how to make the installer runnable — including any macOS Gatekeeper quarantine or Linux execute-permission steps — and how to confirm afterward that it installed.Install it to the default location. The STM32CubeIDE for Visual Studio Code extension only auto-detects STM32CubeMX at the paths below, so tell me if the installer puts it anywhere else:
- macOS:
/Applications/STMicroelectronics/STM32CubeMX.app - Linux:
~/STM32CubeMX/STM32CubeMX - Windows:
C:\Program Files\STMicroelectronics\STM32Cube\STM32CubeMX\STM32CubeMX.exe
- macOS:
-
Optional. Install STM32CubeProgrammer if you plan to flash Cygnet over USB in DFU mode. Be sure to follow these installation notes when installing it.
Create a Project
There is no CMSIS board definition for Cygnet, so you configure the project
against Cygnet's microcontroller — the STM32L433CCT6 — and then apply any
Cygnet-specific configuration you need to
below.
-
Click the STM32Cube (butterfly) icon in the Activity Bar and select Launch STM32CubeMX in the STM32Cube Key Actions section.
-
In STM32CubeMX, choose File > New Project, then select
STM32L433CCT6from the part selector and click Start Project.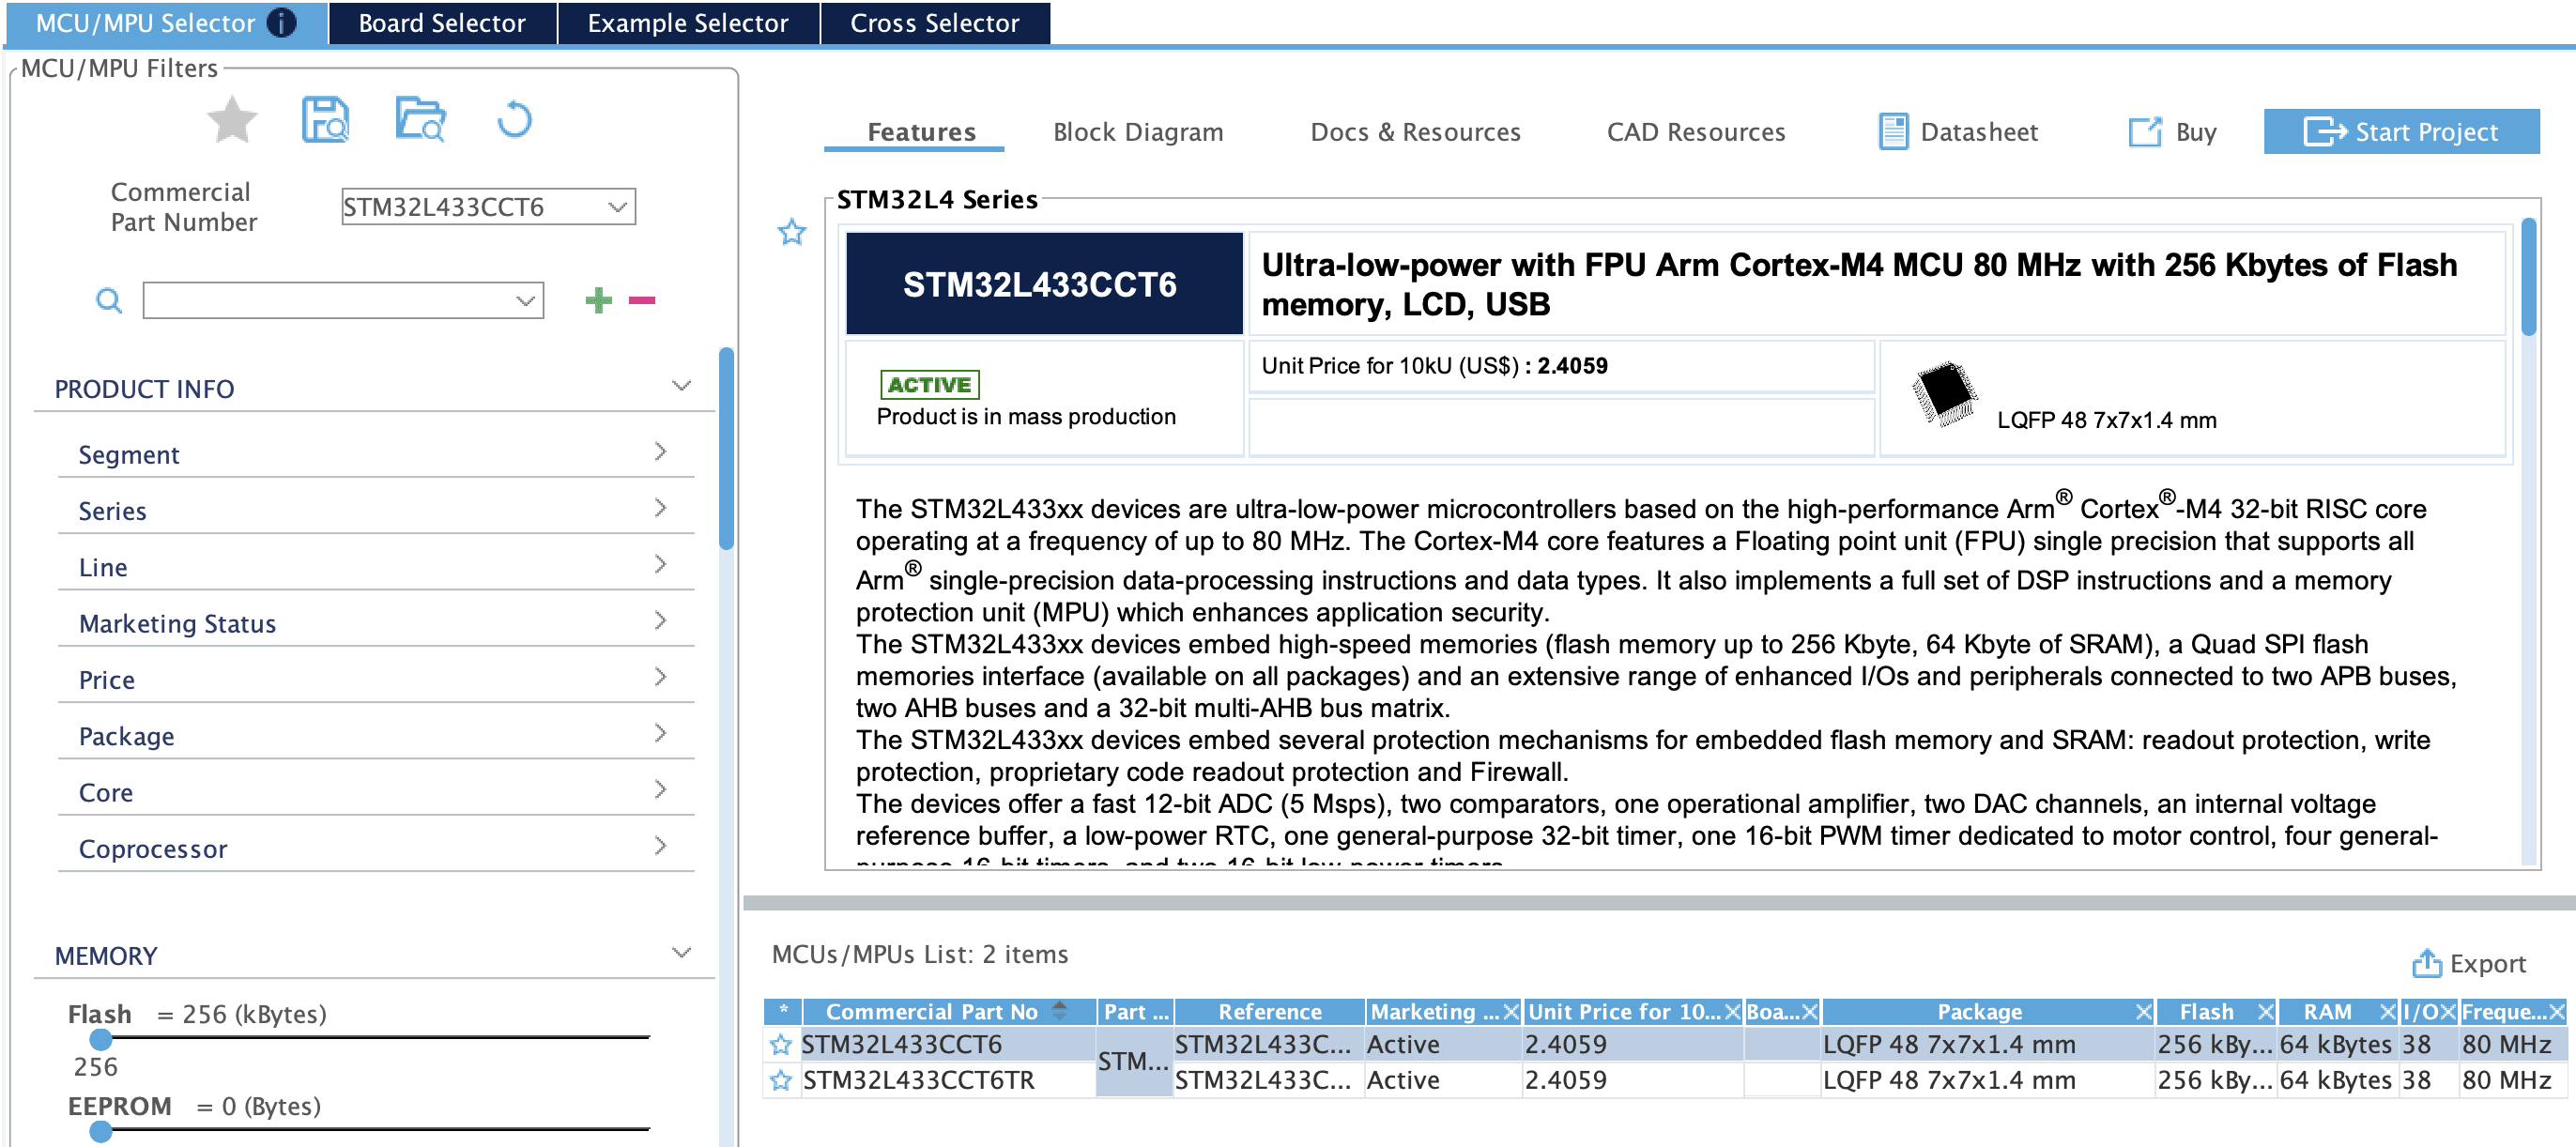
-
Configure what you need in Pinout & Configuration. To follow the blink example below, set
PA8toGPIO_Output. -
Open the Project Manager tab. Give the project a name and location, and set Toolchain/IDE to CMake. This is the setting that makes the output readable by VS Code.
-
Click Generate Code. You may have to download additional dependencies.
-
Return to VS Code and open the generated folder with File > Open Folder. The extension will detect your STM32Cube project and configure the tooling.
-
Select the CMake preset Debug when prompted. CMake then runs its configure step and writes the build files to
build/Debug.
You now have a CMake project carrying the STM32L4 HAL under
Drivers/STM32L4xx_HAL_Driver, an stm32l4xx_hal_conf.h, a linker script
matched to Cygnet's 256KB of flash and 64KB of RAM, and a main.c with
generated initialization code.
 note
noteKeep the .ioc file that STM32CubeMX writes into the project. Reopening it in
STM32CubeMX and regenerating is how you add peripherals later, and it preserves
anything you write between the USER CODE BEGIN and USER CODE END markers.
Cygnet-Specific Configuration
Because the project targets the bare microcontroller rather than a Cygnet board definition, a few defaults do not match Cygnet's hardware.
Here are a few things worth knowing:
-
PA13andPA14are the debug pins (SWDIO and SWCLK). Repurposing either as GPIO will cost you SWD access, and with it the extension's ability to flash and debug. -
LED_BUILTINisPA8, andUSER_BTNisPC13. -
PH0(EN) enables the external 3.3V regulator. Leave it configured the way your carrier expects before putting the board to sleep. -
PB3carries theUSBrail sense andPH3isBOOT0and neither is a general-purpose GPIO on Cygnet. -
Feather pin names do not map to the ports you might assume:
A4andA5arePB1andPA7,D13isPB4, and the SPI pinsMO,MI, andCKarePB5,PA6, andPA5. See Pin Information in the Cygnet Datasheet for the full mapping.
Blink the Onboard LED
To confirm the toolchain end to end, blink PA8. If you set it to
GPIO_Output in STM32CubeMX's Pinout view, the generated MX_GPIO_Init()
already configures the pin — so the only code you add is the loop, between the
USER CODE BEGIN WHILE and USER CODE END WHILE markers in Core/Src/main.c:
/* USER CODE BEGIN WHILE */
while (1) {
  HAL_GPIO_TogglePin(GPIOA, GPIO_PIN_8);
  HAL_Delay(1000);
  /* USER CODE END WHILE */
}If you'd rather configure the pin in code than in the Pinout view, do it after
MX_GPIO_Init() instead:
__HAL_RCC_GPIOA_CLK_ENABLE();

GPIO_InitTypeDef led = {0};
led.Pin = GPIO_PIN_8;
led.Mode = GPIO_MODE_OUTPUT_PP;
led.Pull = GPIO_NOPULL;
led.Speed = GPIO_SPEED_FREQ_LOW;
HAL_GPIO_Init(GPIOA, &led);Keep additions inside the USER CODE markers. STM32CubeMX overwrites
everything outside them the next time you regenerate.
Build and Flash Firmware
Cygnet has no on-board debugger, so flashing and step debugging from VS Code require an STLINK-V3MINI (or another SWD-capable ST-LINK probe) connected to Cygnet's Cortex-Debug connector. You can flash over USB with Cygnet's DFU bootloader instead, which requires no probe, but the extension's debugger cannot attach that way. We'll cover both paths here.
Build
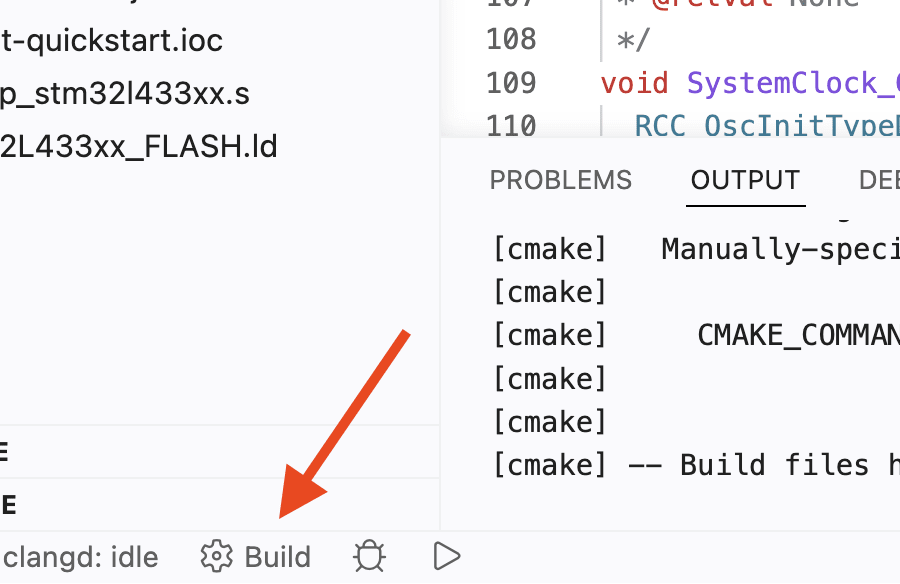
You can now build your project with the CMake Tools integration the extension pack installs: click the Build button in the CMake view, use the build item in the status bar, or run CMake: Build from the Command Palette.
The build writes its artifacts to the preset's directory — build/Debug for the
Debug preset — including the .elf the debugger flashes and the .hex, .bin,
and .map files. To switch between Debug and Release, run CMake: Select
Configure Preset from the Command Palette.
Flash with an STLINK-V3MINI (Recommended)
The extension flashes as part of starting a debug session: the ST-LINK GDB
server downloads the built .elf to Cygnet, then hands control to GDB.
noteUsing a Notecarrier CX? The ST-LINK probe connects to the Notecarrier's debug jack instead of a Cygnet. If needed, see Flashing Firmware in the Notecarrier CX Quickstart for the connection instructions.
-
Plug the STLINK-V3MINI into your computer over USB.
-
Plug Cygnet into a power source — a LiPo battery, or your computer over USB.
noteIf you want to see serial output from Cygnet over its own USB port, power it from a USB cable rather than a battery. Alternatively, use the STLINK-V3MINI for serial output and keep everything on one cable.
-
Plug the Cortex-Debug connector from the STLINK-V3MINI into Cygnet.

-
Open the Run and Debug view (
shift + cmd/ctrl + D) and click Run and Debug. If VS Code asks which debug probe you are using, select the Launch ST-Link GDB Server option.After your project is built and uploaded to the Cygnet press
F5and you should see the onboard LED flash.
noteTo keep a configuration you can edit and commit, click create a launch.json
file in the Run and Debug view. The .vscode folder holding it must sit at the
root of the project. A working Cygnet configuration looks like this:
{
  "version": "0.2.0",
  "configurations": [
    {
      "type": "stlinkgdbtarget",
      "request": "launch",
      "name": "Cygnet: Launch ST-Link GDB Server",
      "origin": "snippet",
      "cwd": "${workspaceFolder}",
      "preBuild": "${command:st-stm32-ide-debug-launch.build}",
      "runEntry": "main",
      "imagesAndSymbols": [
        {
          "imageFileName": "${command:st-stm32-ide-debug-launch.get-projects-binary-from-context1}"
        }
      ]
    }
  ]
}
Flash without an STLINK-V3MINI
Cygnet's DFU bootloader lets you flash over USB with no probe attached. The extension has no DFU flashing command, so use STM32CubeProgrammer for this path (and note that you cannot step debug this way).
-
Connect Cygnet's USB-C port to your computer with a USB cable.

-
Press and hold the
BOOTbutton, press and releaseRST(reset), then releaseBOOTto jump into the bootloader. This sequence must be repeated before every upload. -
In STM32CubeProgrammer, select USB as the connection type and flash the
.elfor.hexfrom your build directory. If you flash a raw.bininstead, set the start address to0x08000000, since a.bincarries no address information of its own.
Step Debugging
With an STLINK-V3MINI attached, you can set breakpoints and step through firmware while it runs on Cygnet.
-
Set a breakpoint by clicking to the left of a line number in
main.c. A red dot marks the line where execution will halt. -
Press
F5, or click Run and Debug in the Run and Debug view, to build, flash, and break atmain. -
When execution halts, step through your code with VS Code's step over, step into, and step out commands, and inspect state in the surrounding views.
Beyond the standard VS Code debug views, the extension pack adds several that are useful on Cygnet:
-
Peripherals: read and write the STM32L433's peripheral registers by name, which is the fastest way to confirm a CubeMX clock or GPIO configuration actually took effect.
-
STM32Cube Live Watch: watch global variables update while the target is running, without halting it. Right-click a variable and choose Add expression to Live Watch window.
-
STM32Cube Fault Status Registers: decode a HardFault into its cause and location.
-
Memory and Disassembly: inspect memory regions and the generated assembly.
-
RTOS views: thread, queue, and call-stack views for FreeRTOS and ThreadX.
noteBreakpoints in assembly files are off by default. To enable them, open Settings
(cmd/ctrl + ,), search for Allow Breakpoints, and check Allow
Breakpoints in any file.
Viewing Serial Output
The extension pack includes a serial monitor, so you can read log output in the same window you build and debug in. Open the Serial Monitor panel, select the port, set the baud rate to match your firmware, and connect.
Cygnet gives you two ways to produce that output:
-
Over the STLINK-V3MINI's virtual COM port. Cygnet routes
LPUART1to the probe's VCP onPB10andPB11, so a single cable carries both SWD and console output. EnableLPUART1and assign it to those two pins — CubeMX will label which isLPUART1_TXand which isLPUART1_RX— then print withHAL_UART_Transmit(). See Serial Logging With STLINK for the wiring details and the tradeoffs. -
Over Cygnet's own USB-C port, using the USB device peripheral in CDC mode.
